Today was all about getting a better idea of what the enclosure will look like. I have an idea of what I want it to look like in my head but when it comes to putting that into millimeter measurements, that’s a bit more challenging.
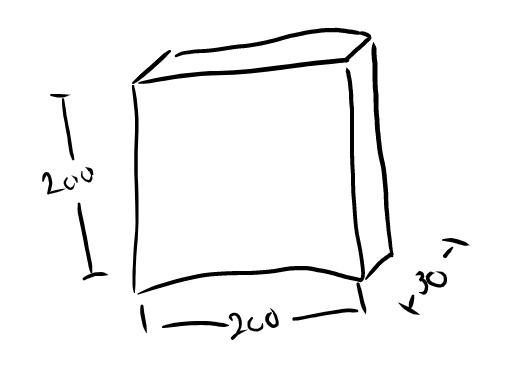
I’ve decided to go with a 200 mm x 200 mm square. I think 30 mm think will work but I won’t know until I am actually holding something in my hand.
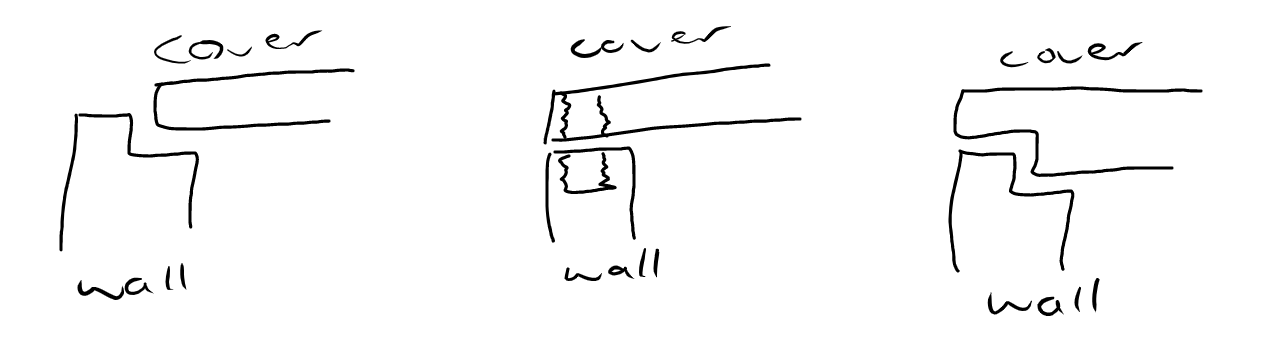
One of the other things that is bothering me is how I am going to attach the image to the rest of the encolsure. Possible options include glue, bolts and friction. I want something that is not permanent so my brother can switch out the front picture if he wants. This pretty much rules out glue. I have the least confience in friction because it relies on 3D printing with very small tolerances so the pieces fit together nicely. Bolts seemed to be the best option but I don’t know how to make this work without losing some space on the image for bolt holes.
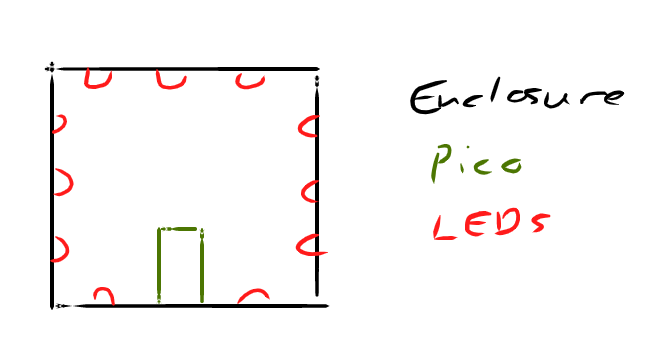
The next challenge is how to mount the Raspberry Pi Pico inside the enclosre. One of the features I’ve decided on is to be able to plug a power cable directly into the enclosure so the Pico needs to be mounted in such a way that it’s power port is accessible and does not move when something is plugged into it.
This is what I have in mind to start with:
|
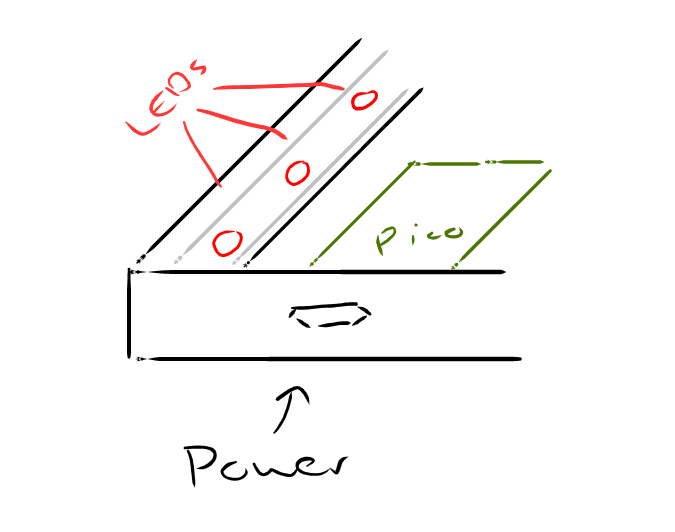
|
It also needs to be easily removable and detachable from the electronic wiring so it can have new software flashed to it.
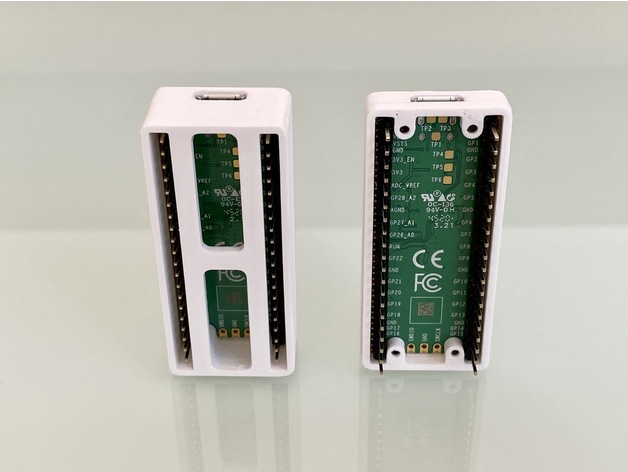
I stumbled onto some nice case designs for a Pico that I think I can adapt to work well:
| Upper case | 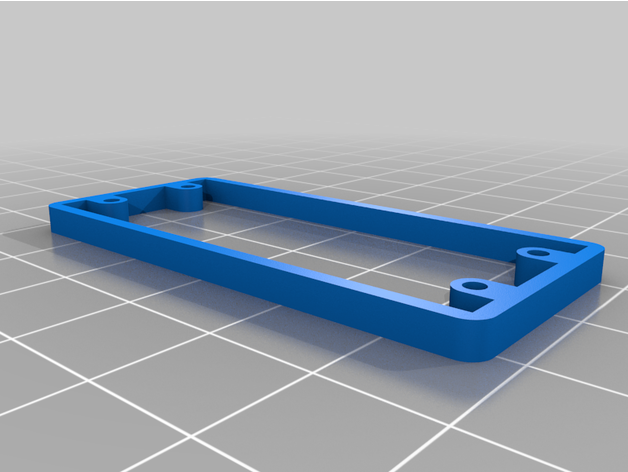 |
|---|---|
| Lower case | 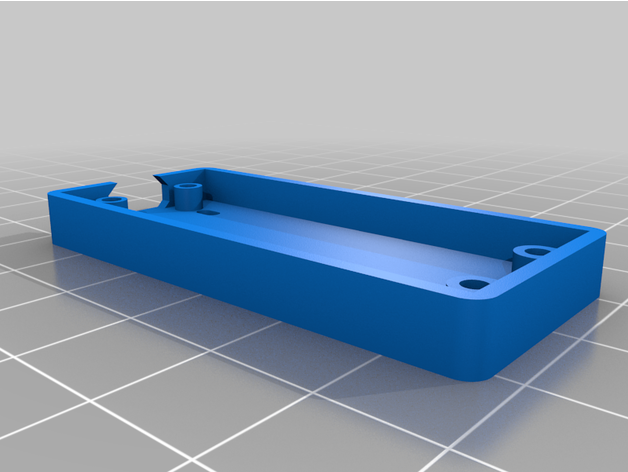 |
Reference:Slim modular Raspberry Pi Pico Case
The idea is keep the mounting holes in place but stretch the Upper case design to the dimensions I want (200 mm x 200 mm). This should leave me with mounting holes for a Pico at one of the edges with the power port easily accessible.
The Pico is then sandwiched between the upper and lower cases to hold it in place with some bolts.
This is what the case looks like with a Pico inserted and no modifications: