I decided to spend today printing some upgrades to my printer from the video I linked at the end of yesterday’s post. This will achieve a few things:
- See how well the printer is tuned
- Add some functionality and colour to my printer
- Let me experiment with different types of timelapses.
Fan Guard
This is a guard for the fan at the front-left of the printer. I was surprised to see that no cover was included for this as filament and other debris could easily fall into the hole. This is the upgrade I am printing to address the issue:
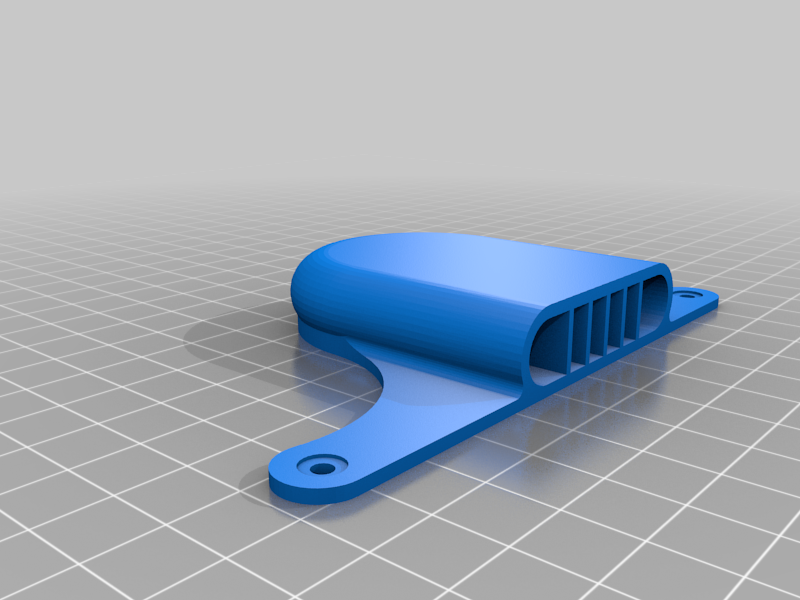
This one turned out really nicely. Here is the timelapse:
LCD Cover
The back of the LCD screen is completely exposed on stock Ender 3s. Although not technically required, I prefer to cover things like this up. This is the upgrade:
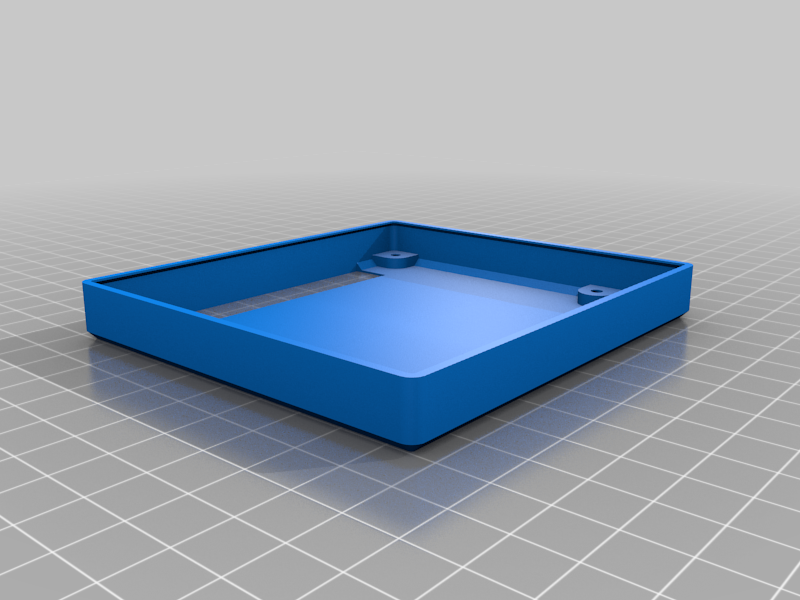
Here is the timelapse:
Minimalist Scraper Holder
I have been using the scraper that comes with the Ender 3 a lot to remove prints and other filament from the bed. It has been sitting on my desk until now and I often find myself looking under other tools, pieces of paper, etc. trying to find it. This little holder will let me store the scraper on the printer:
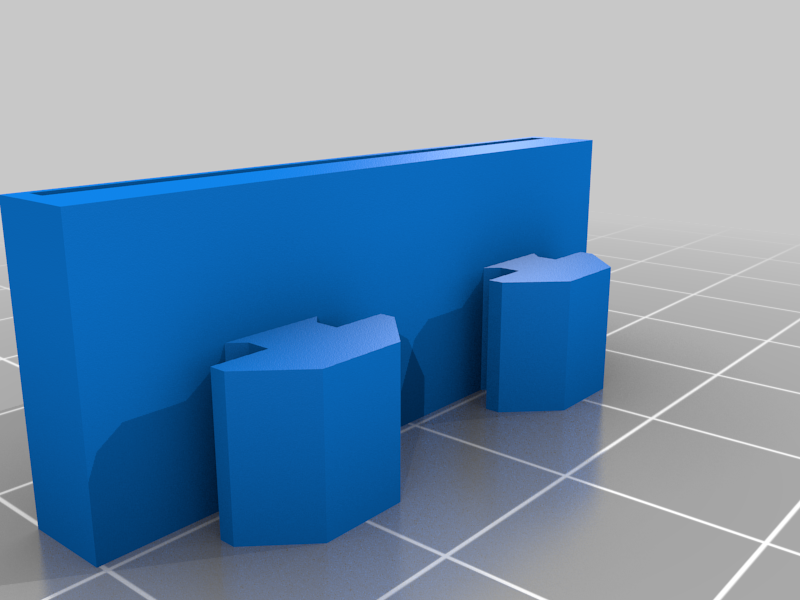
Here is the timelapse:
Timelapse Comparison
The first timelapse above was created with Octoprint’s default timelapse feature. This is a pretty standard timelapse (although quite jerky for my liking) and shows the print head moving around the print bed.
The second and third timelapses were created with the Octolapse plugin. These are far nicer to watch in my opinion as they give the illusion the print is appearing out of thin air. This works by moving the print head to a set position at the completion of each layer, before the snapshot is taken. The downside to this is that when the print head moves away from the print, stringing can occur. I might be able to fix this with better retraction settings.
I think it is best if I just use a standard Octoprint timelapse for printing my brother’s present, so I don’t compromise on quality.