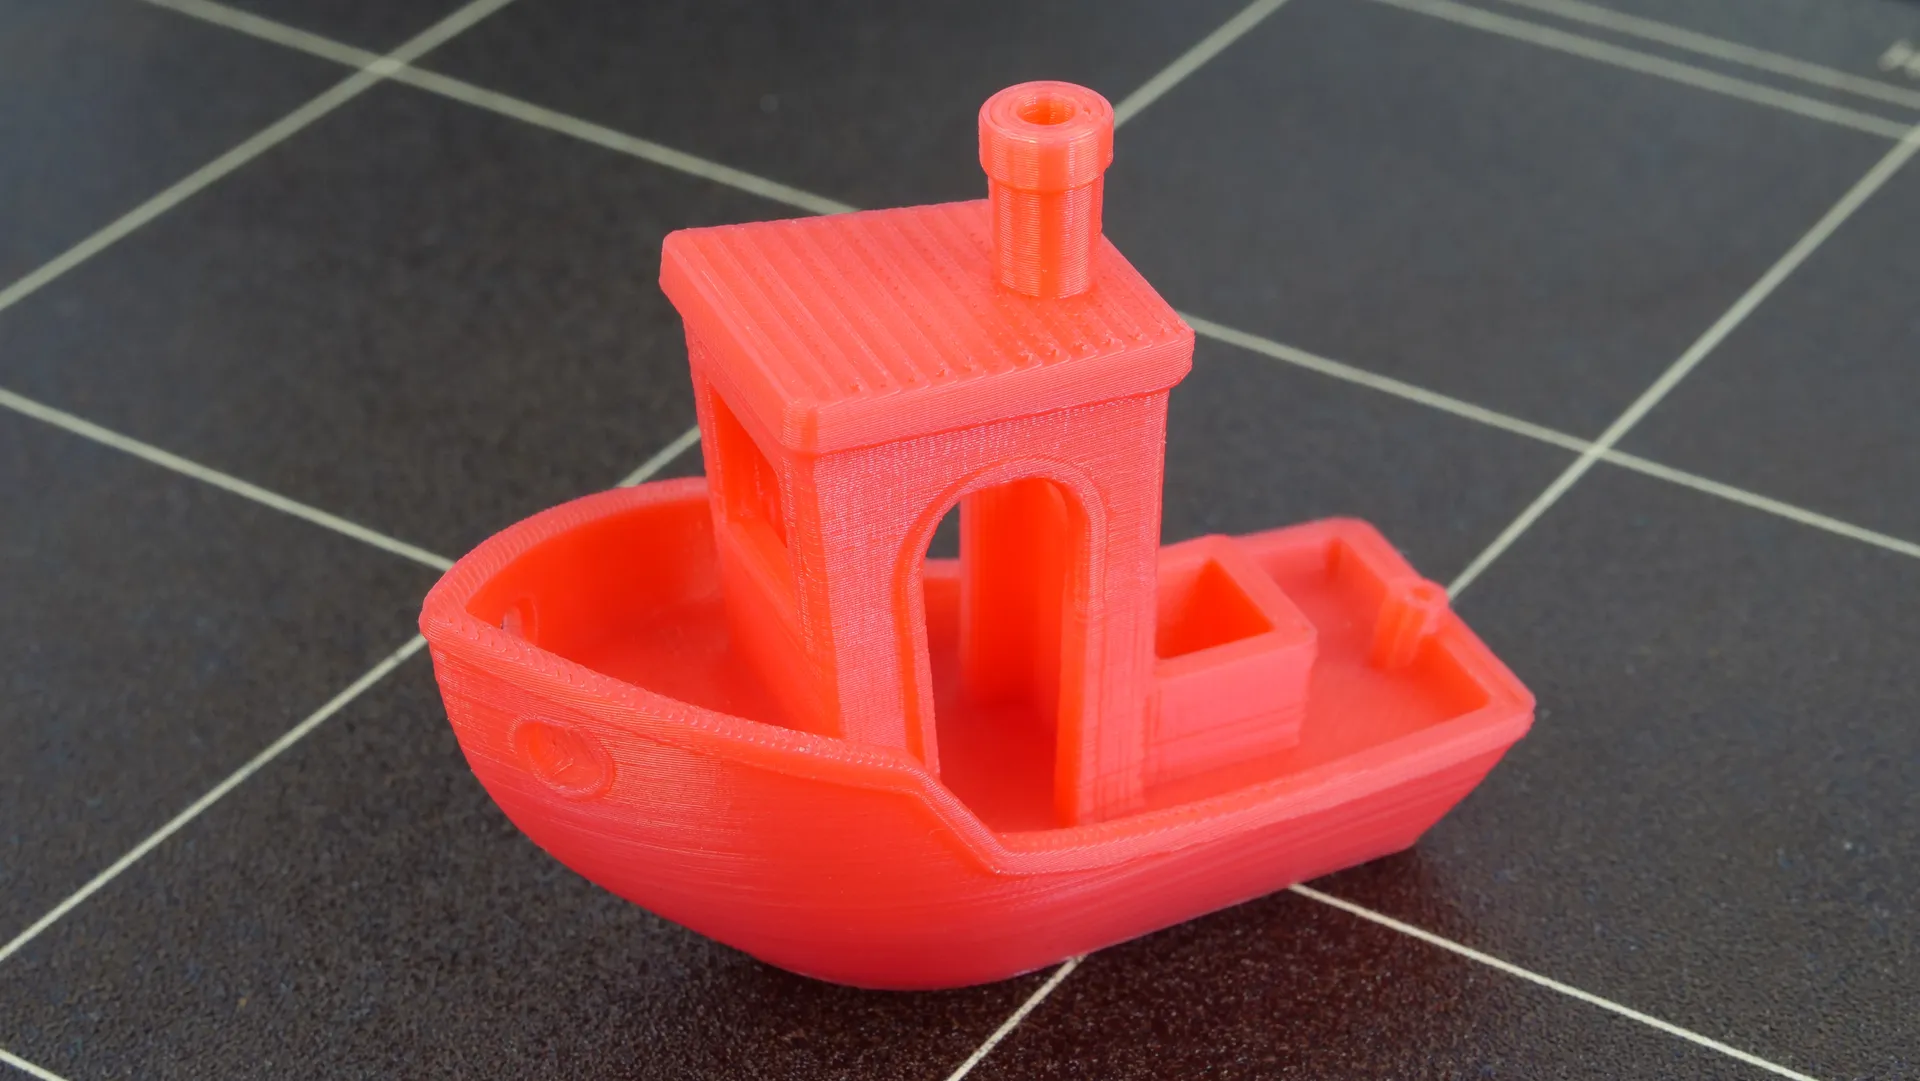
I am not counting the bed levelling print from yesterday 😉. The first “proper” thing I wanted to print is something to test how well my printer is printing. This is known as a benchmark or torture test print and the most common is Benchy:
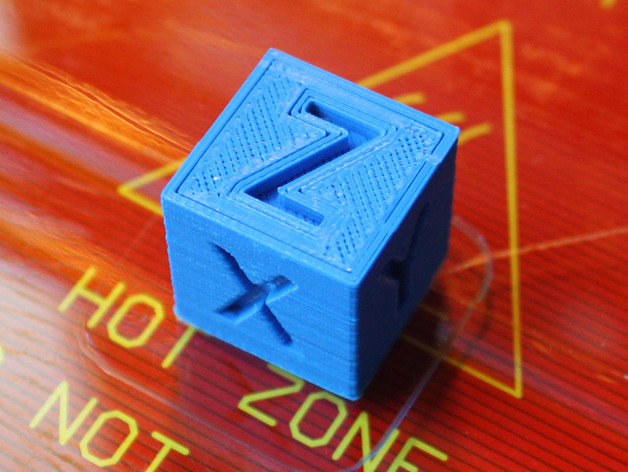
I am sure I will print one of these at some stage but because I want to make sure I can print things with good dimensional accuracy, I decided to print a calibration cube first:
I downloaded the STL, and sliced the print in Cura:
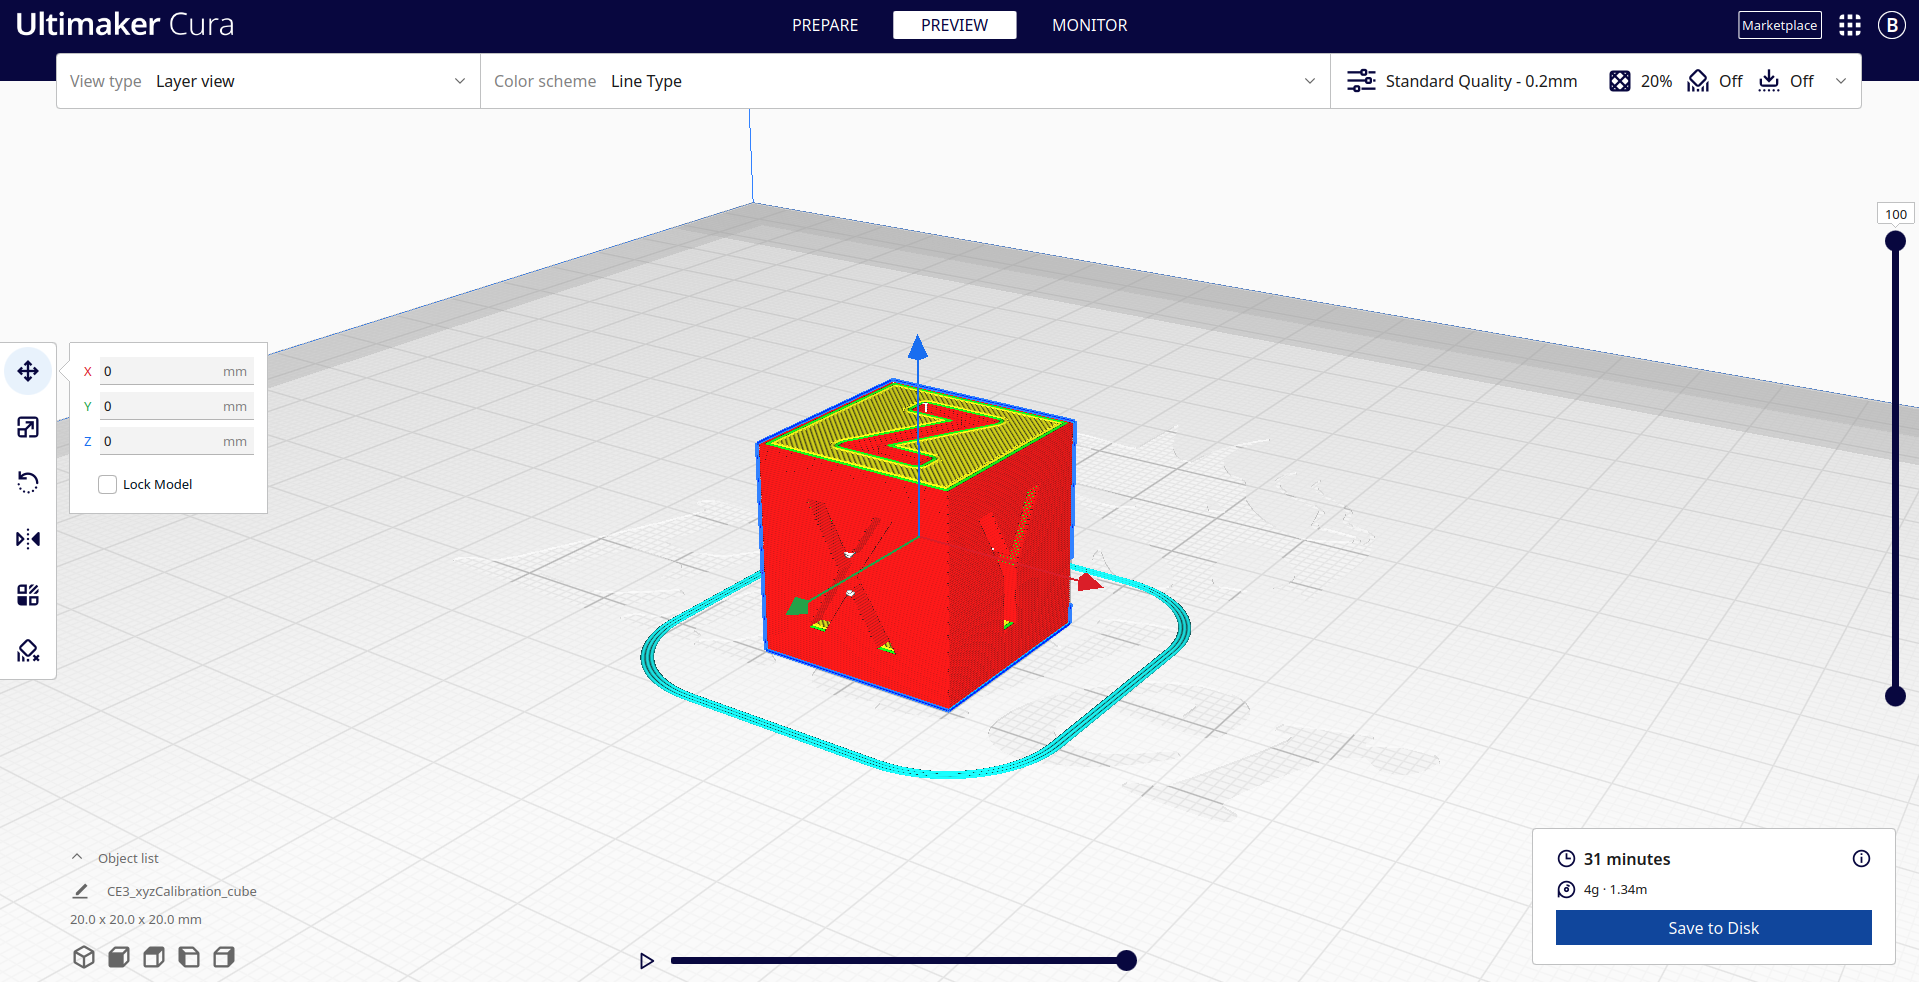
Once I had changed the settings to use a 30% infill and 0.1 mm layer height as suggested by the model author, I downloaded the G-code.
I hooked up my Raspberry Pi to the printer to see how Octoprint would cope. I was greeted with a lovely error message telling me that the Ender 3 firmware was not compatible with Octoprint and I would have to download a plugin to fix this (specifically the temperature readings). Once the plugin was downloaded, there was no more error message. I was then able to see the nozel and bed temperatures, as well as view the camera stream and move the print head using the controls in the Octoprint interface. Triggering the print through the interface was also possible.
Things seemed to mostly behave however, I did notice a couple of times during the print, the printer would seem to freeze. Thankfully, after a few seconds, it seemed to carry on. This is the result of the first print:
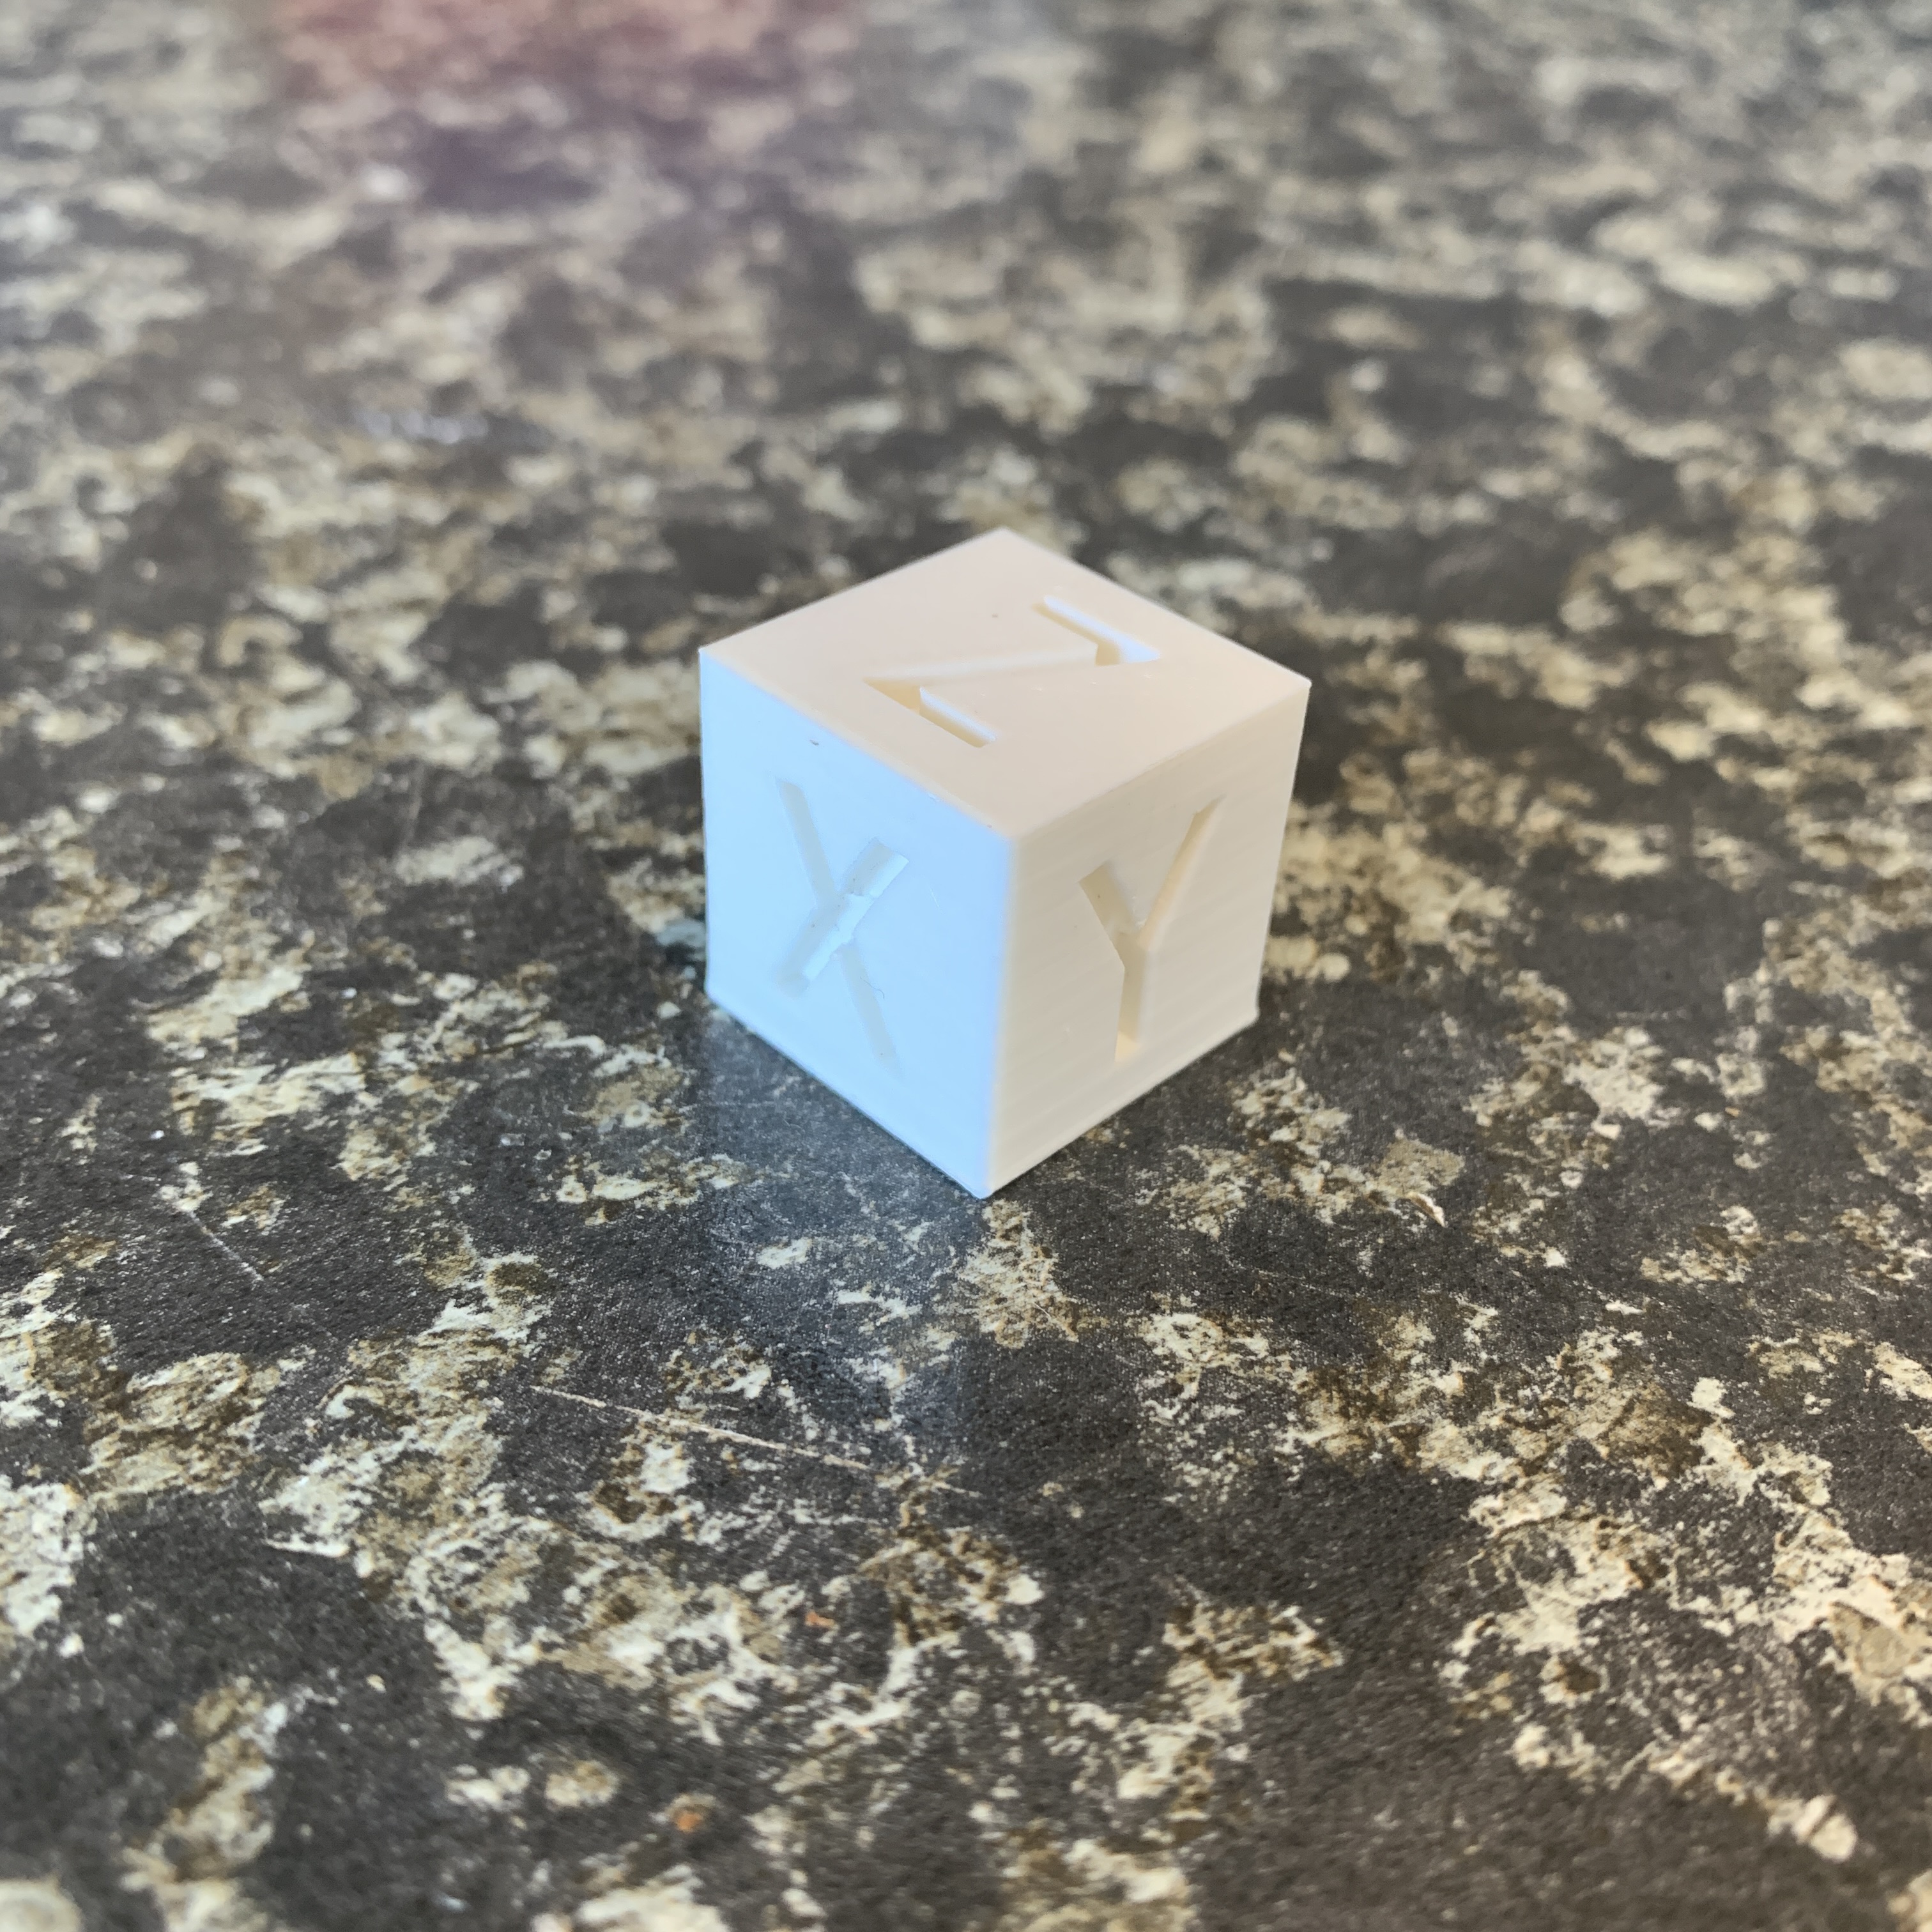
I am very happy with this! There are a few issues:
- Elephant’s foot at the bottom of the print
- I suspect this is caused by the nozel being too close to the bed for the first layer
- Sharp points within the ‘X’ and ‘Y’ seem a bit messy
- Random little bulge on one of the walls
- This may have happened during one of the random print freezes
The cube is supposed to be 200 x 200 x 200 mm. Mine was not exactly those dimensions but very, very close so I don’t think I need to perform any stepper motor adjustment. The worst offending axis is definitely the ‘Z’ axis but I think this is because of the Elephant’s footing mentioned above.
Octoprint wasn’t able to create the timelapse for me. I assume this is because it’s running on an old Raspberry Pi. I had to grab the photos from the Pi and create the timelapse manually. It doesn’t seem as smooth as the examples I have seen so I will try and figure out what settings Octoprint uses to generate its timelapses.
After thinking about this some more, I decided to repurpose my Raspberry Pi 4 that is running Home Assistant for this project. This will allow me to use Octoprint to its full potential.
The next thing to work on is the Tinkercad model for the enclosure, as well as finishing off the cover. I may also print some printer upgrades while I am at it 😁. This video inspired me: