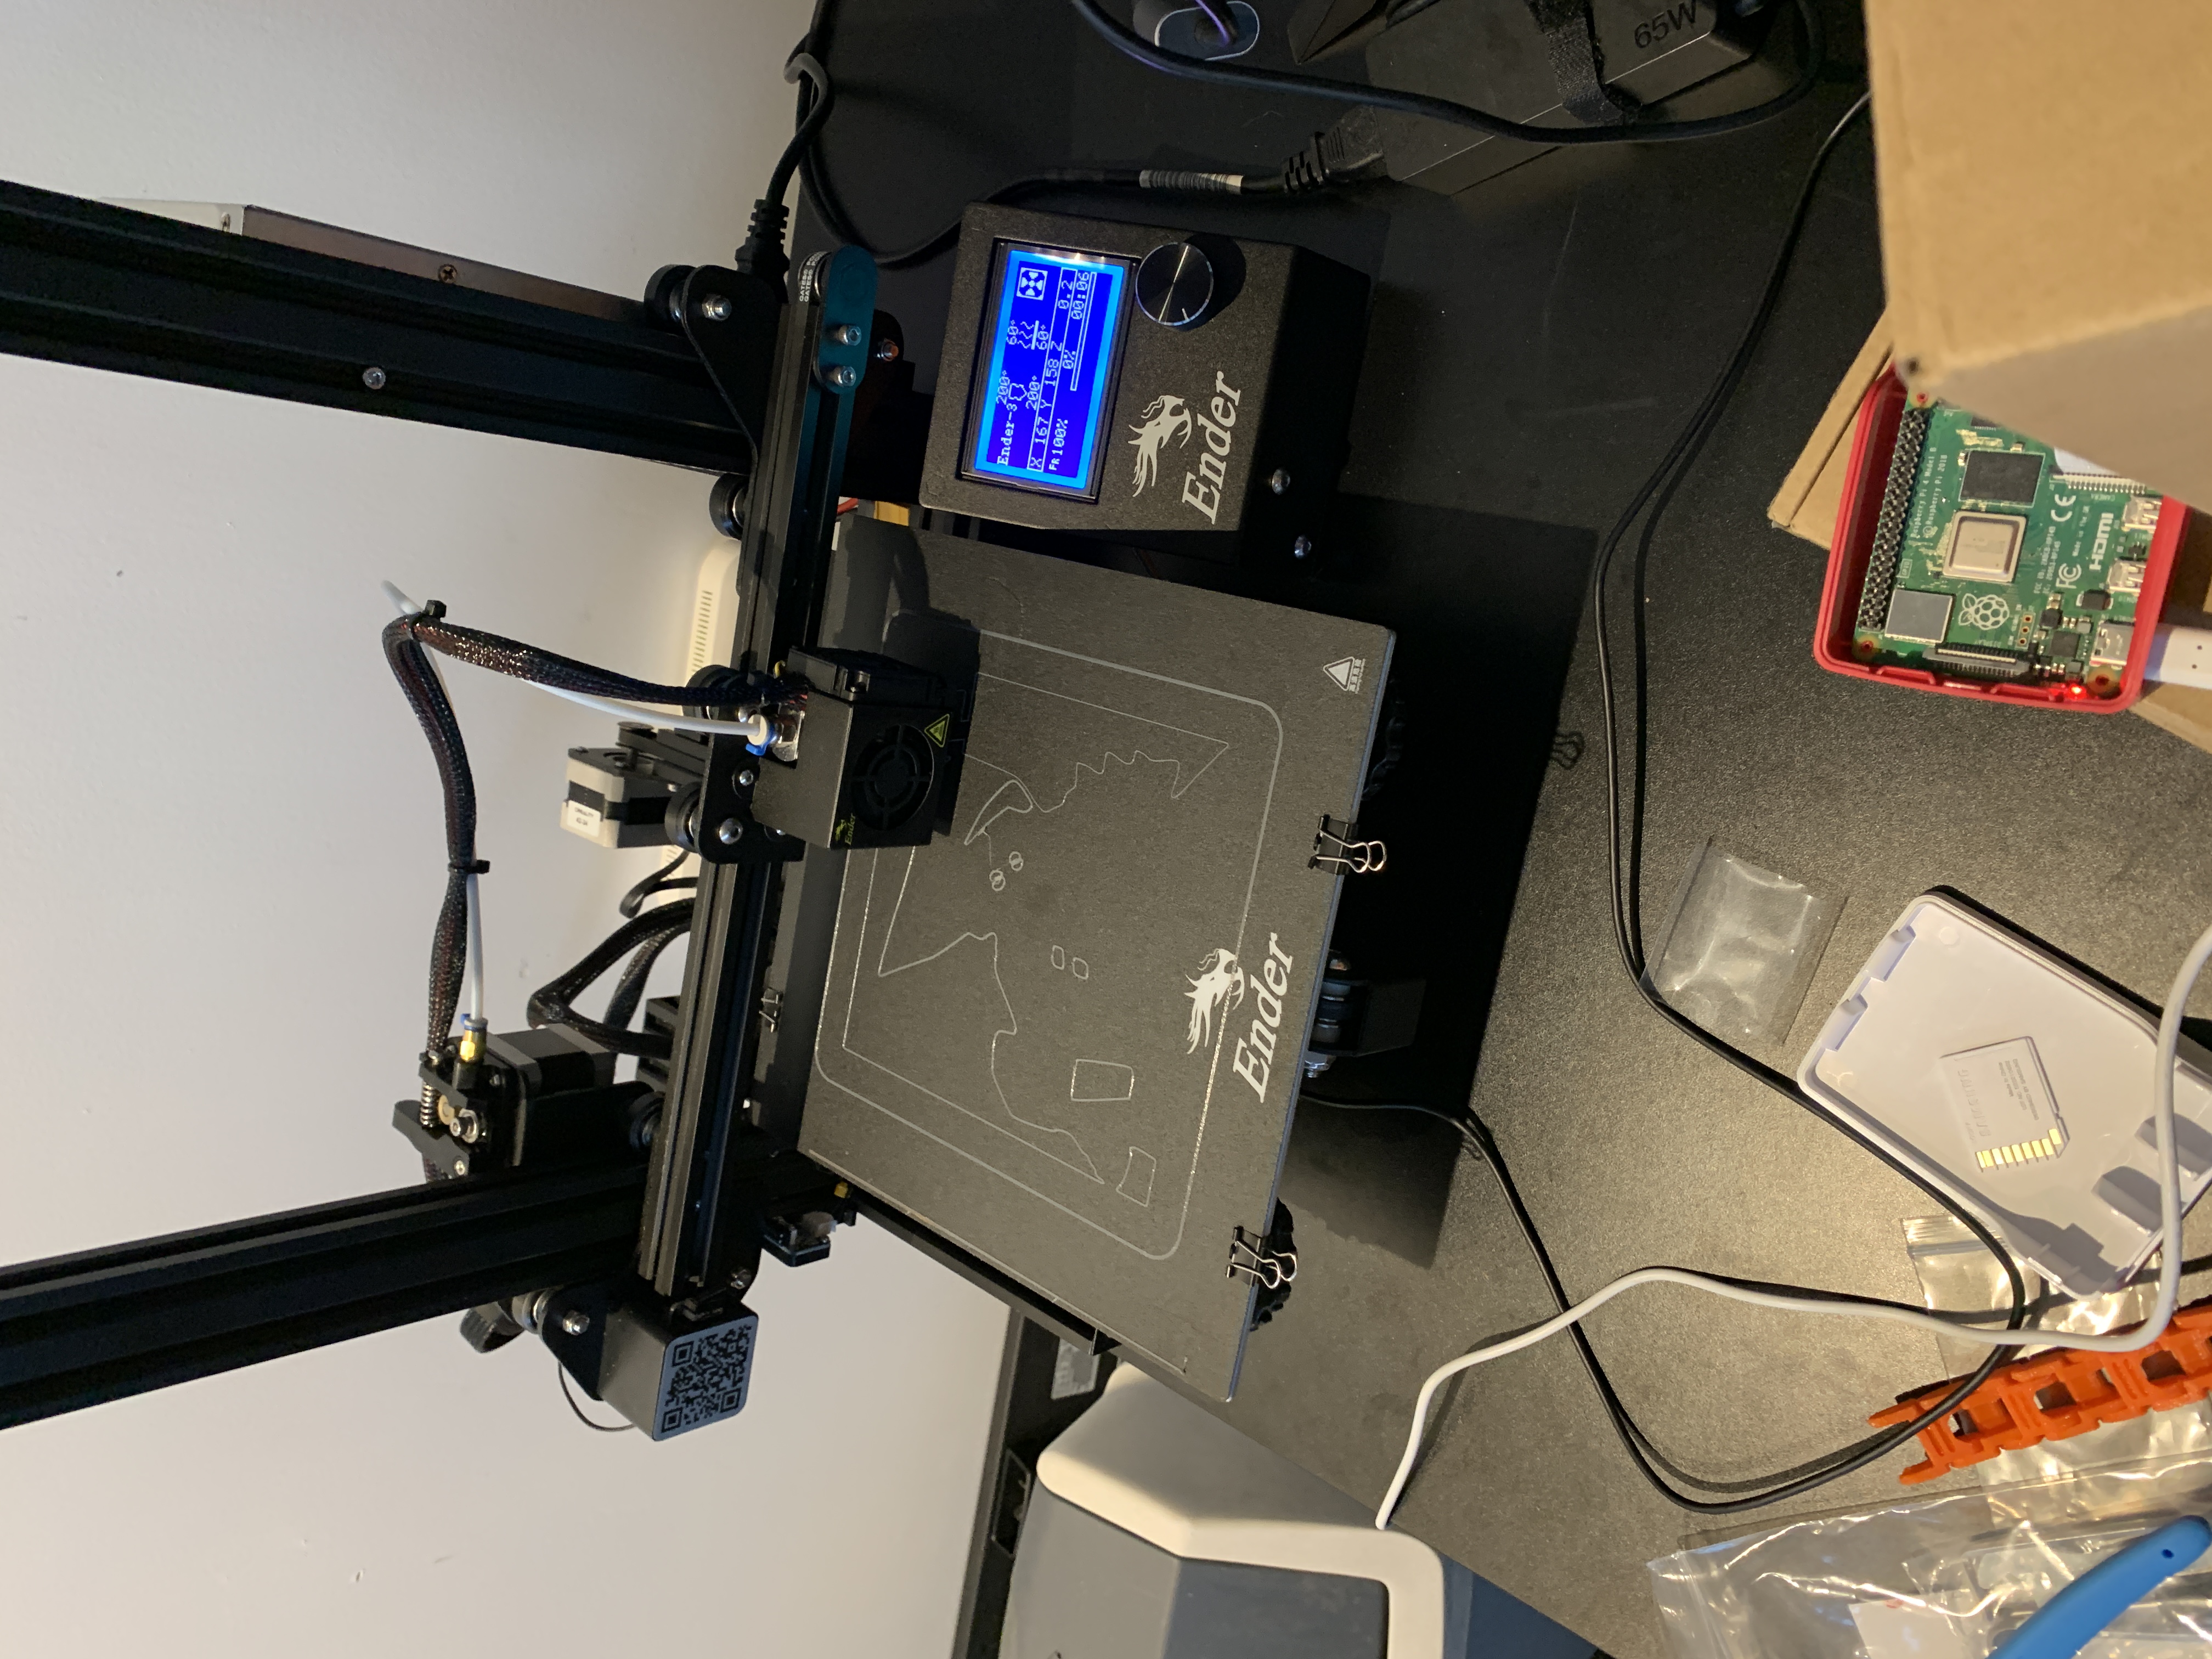
I kicked the cover print off just after 7 am this morning. I got the slicing sorted in Cura first and then loaded the GCode into Octoprint. I was happy with the first layer and print adhesion:
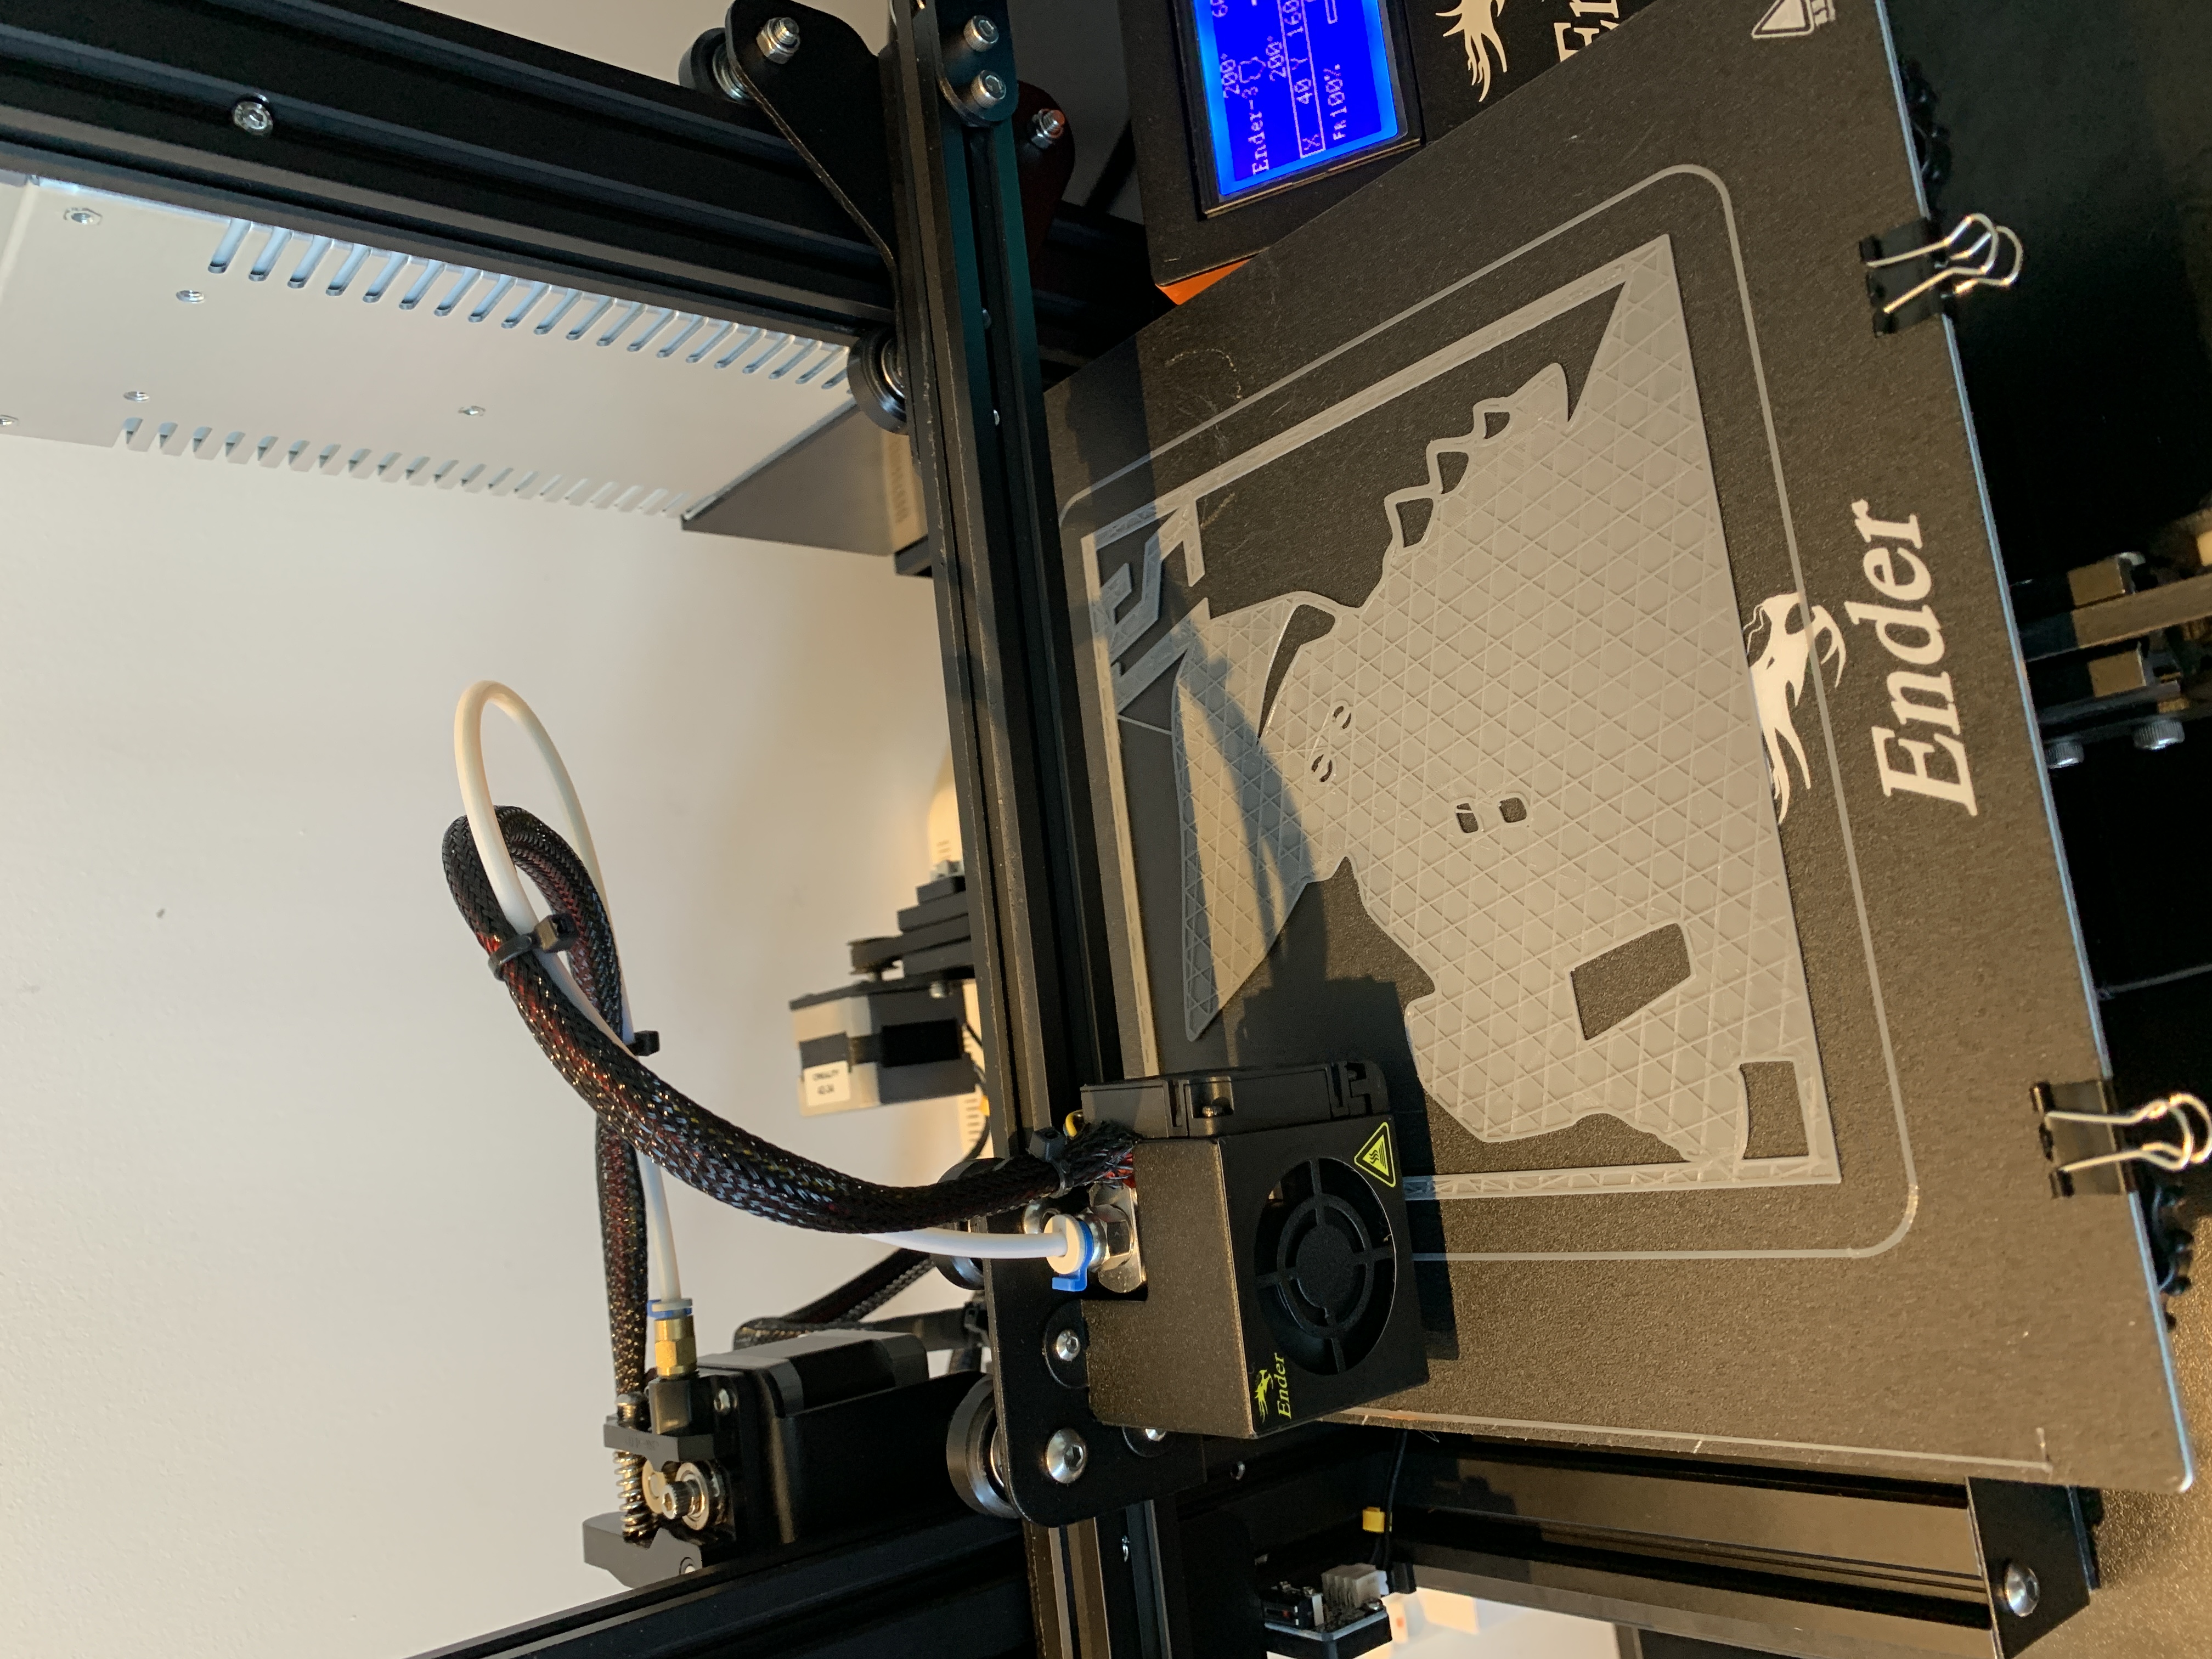
I checked in on the print every now and then on my phone, to make sure nothing catastrophic was going on. After a few hours, you could start to see the infill being printed:
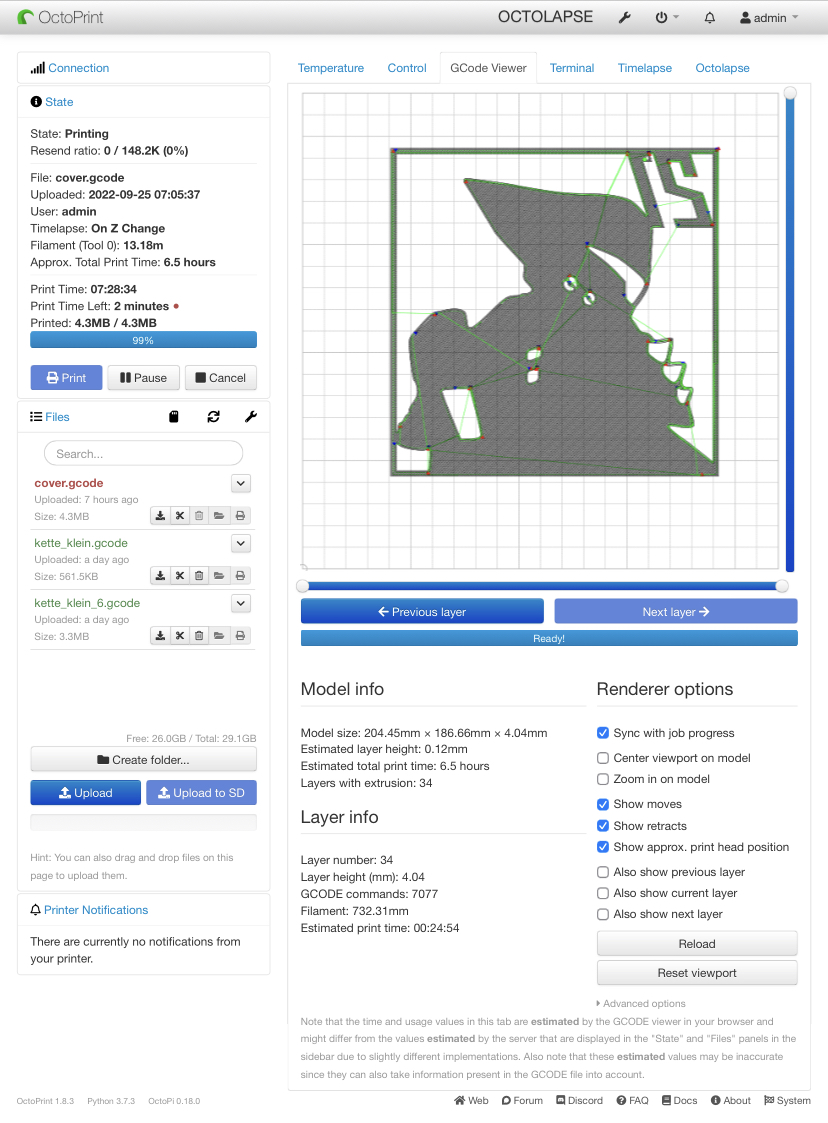
I managed to grab a screenshot of the GCode viewer just before the last layer was finished:
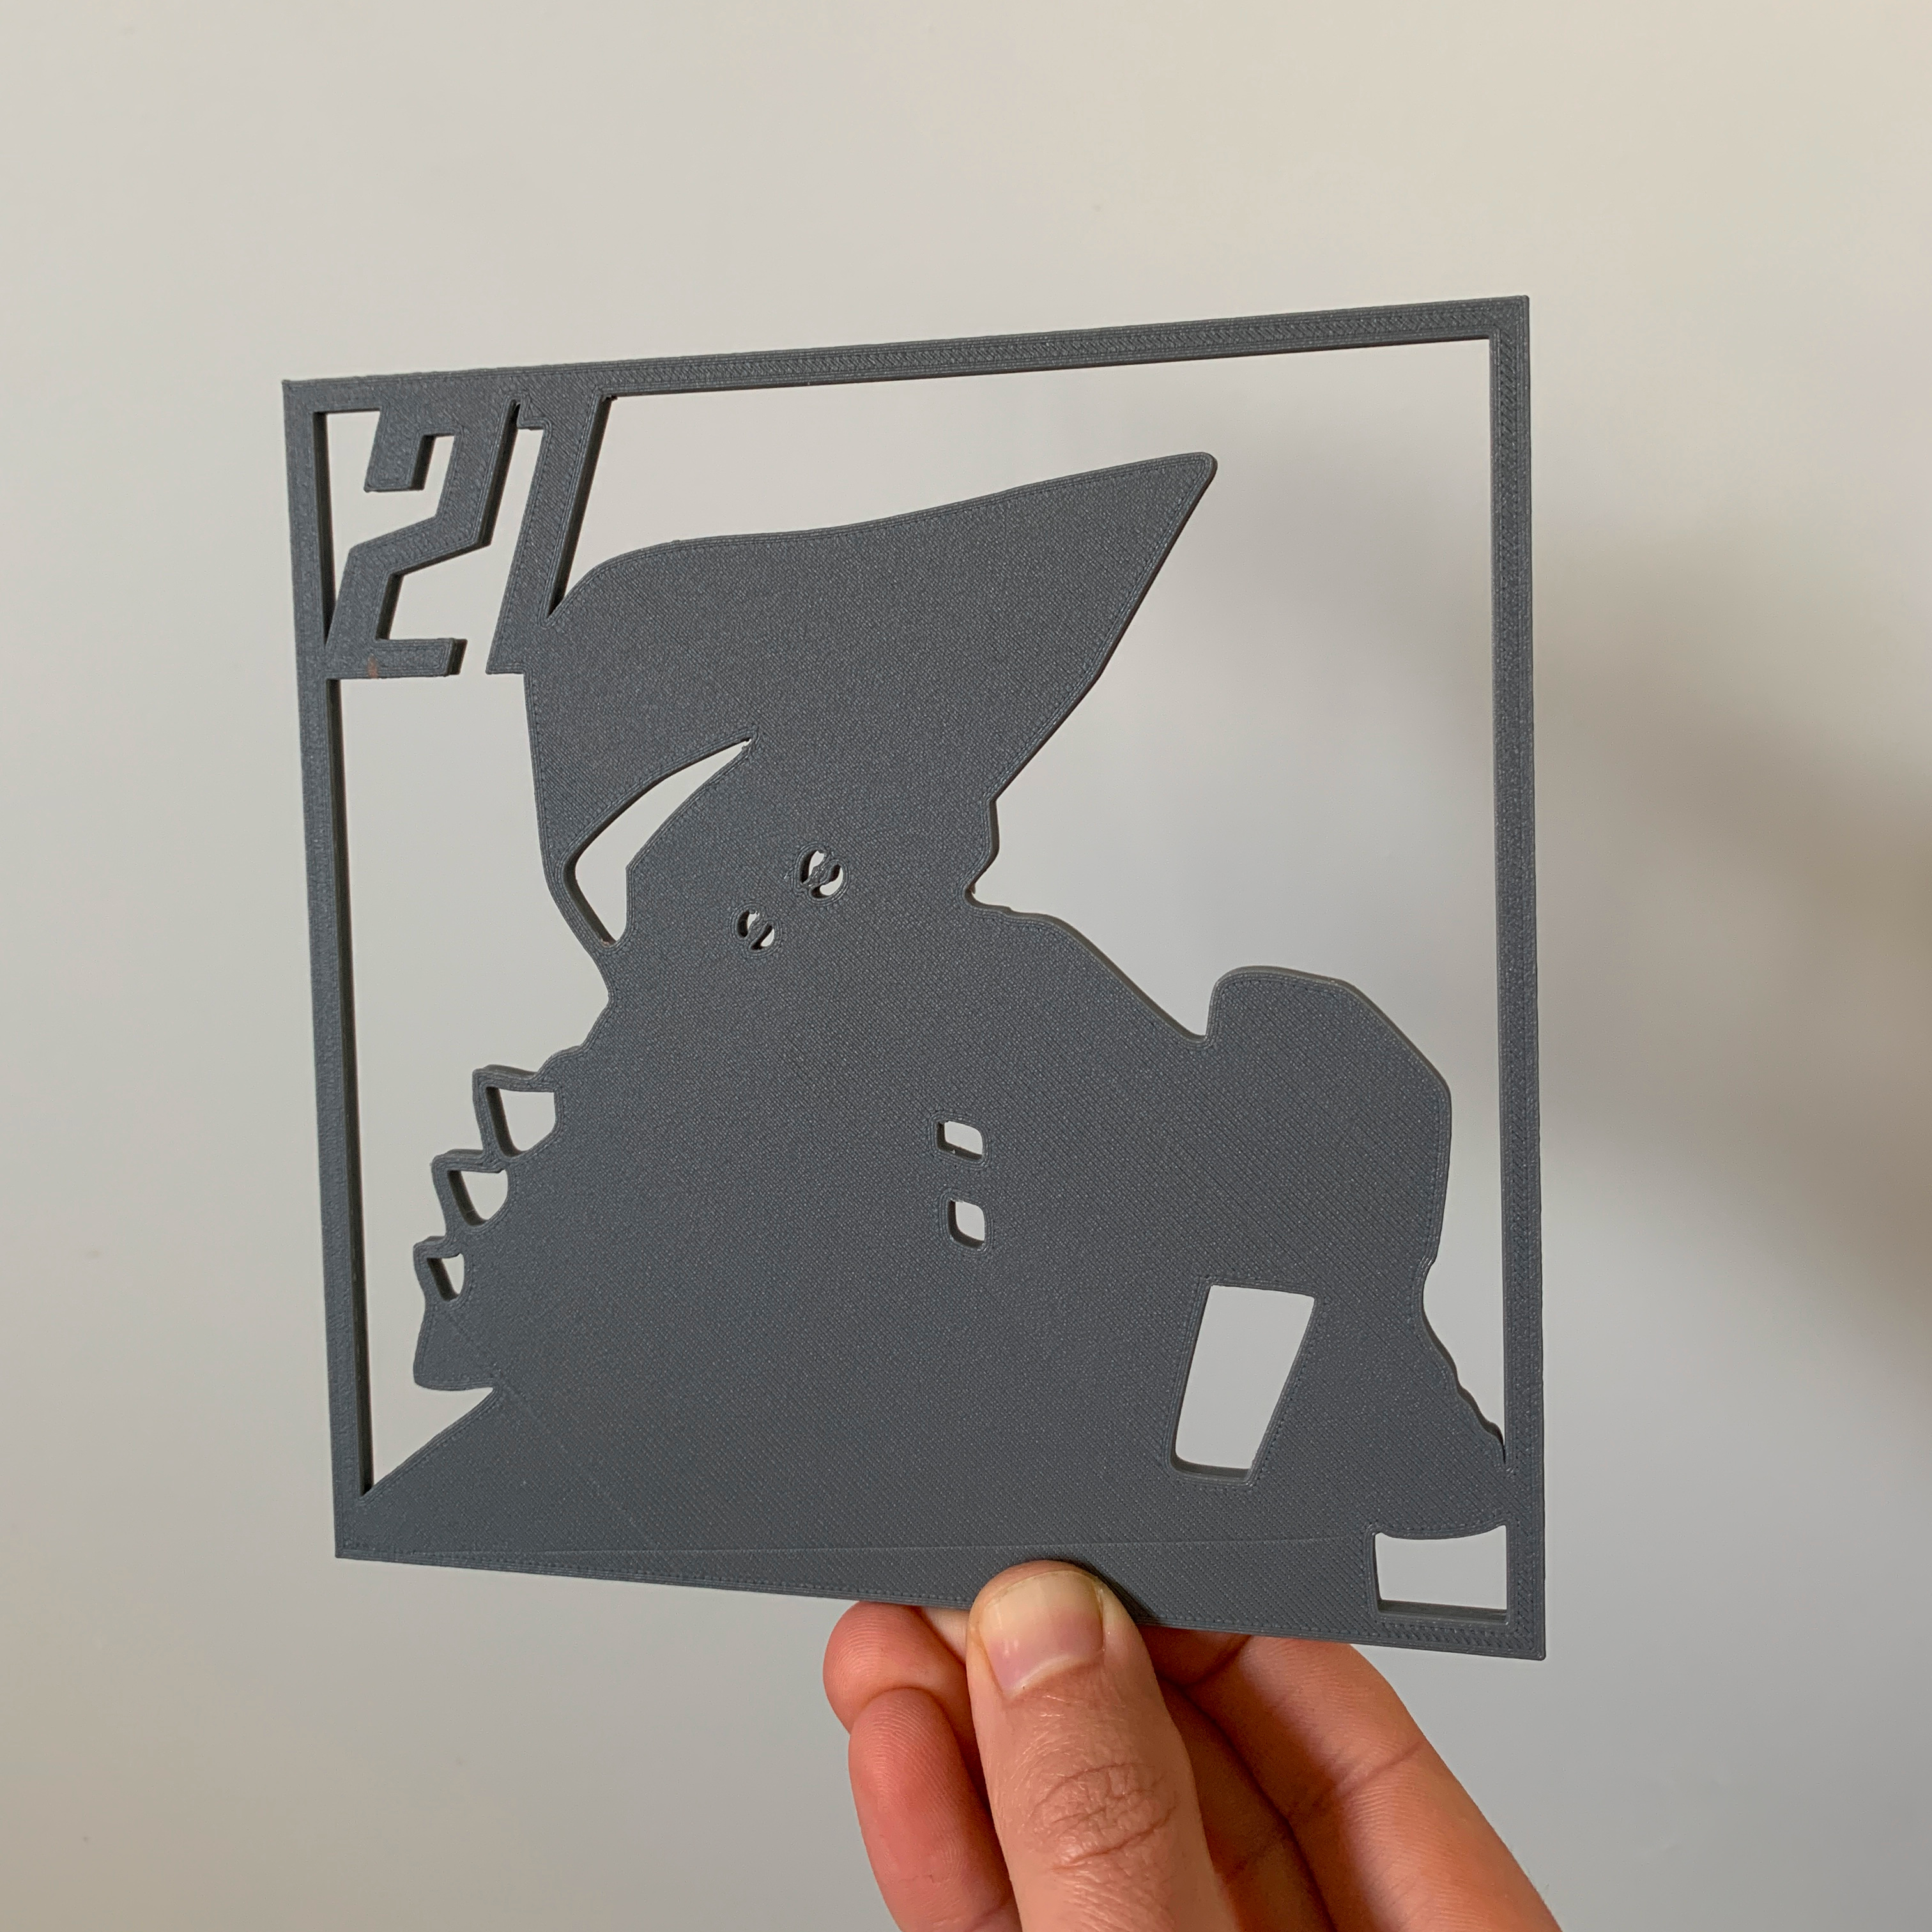
After 7 hours 28 minutes and 13.18 m of filament, the cover was done!
I waited a while to let the bed cool before very carefully removing the print. The print quality was extremely good and after removing some minor imperfections and stringing, this is the finished result:
I really want the finished gift to be black. I only have grey and orange filament at the moment so I went and bought some black spray paint from the local hardware store. Yet another thing to learn how to do.

Later in the evening, I spent more time trying to figure out the internals of the enclosure. There is a lot to think about and fit in so I sketched my thoughts out.
The inside of the enclosure will be laid out roughly as follows:
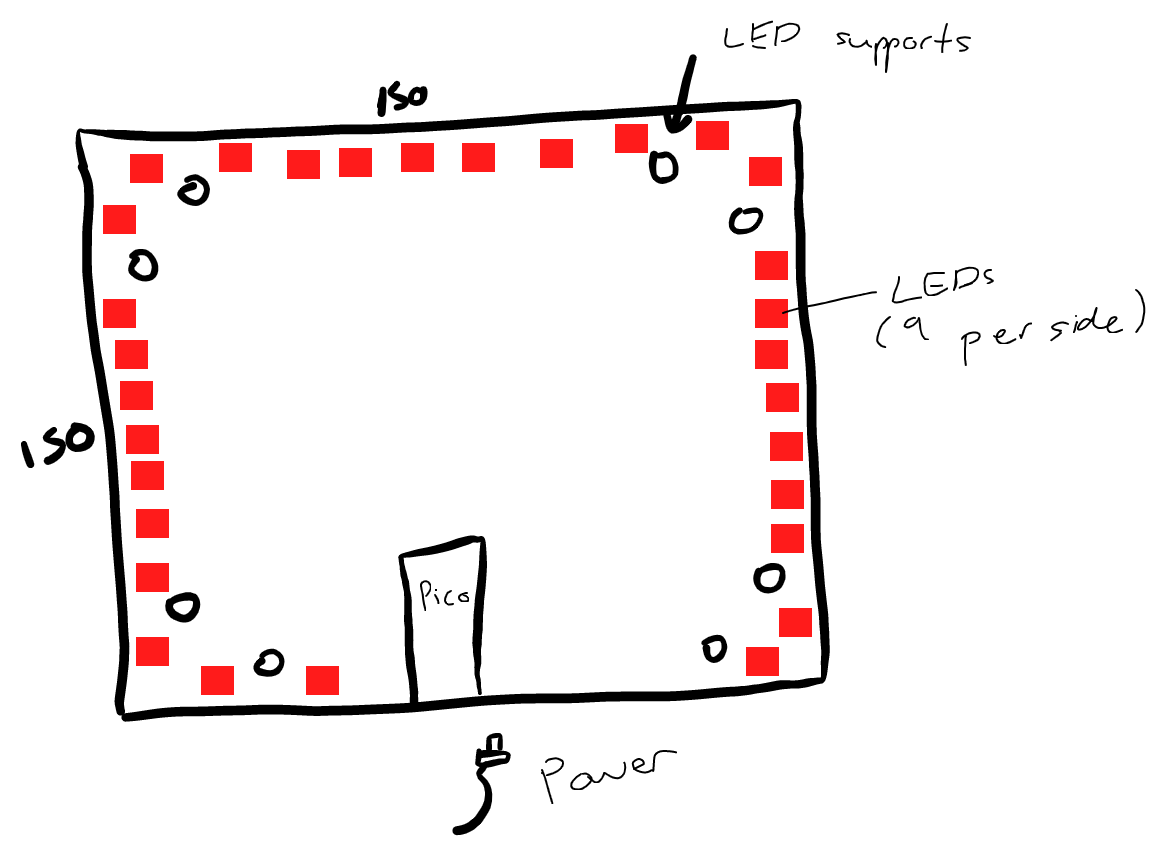
The LED strip will be attached to the internal wall of the enclosure in a clockwise direction, starting at the Raspberry Pi Pico. There will be nine LEDs on each face except for the bottom, where there will only be three. This should not be a problem as the majority of the bottom portion of the cover is solid, meaning no light will come through anyway.
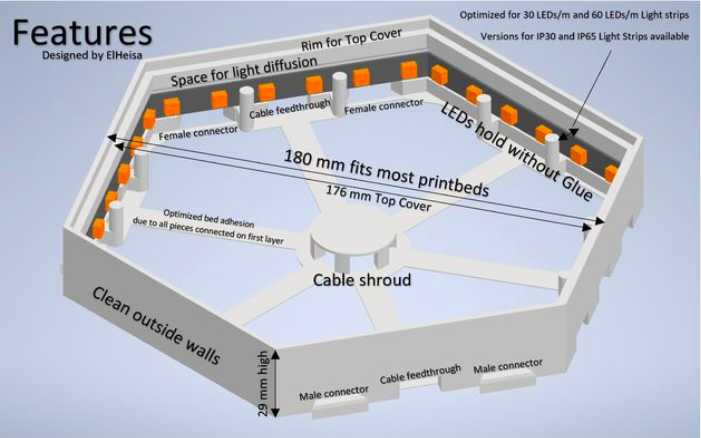
I have included two cylindrical LED strip supports on each side, similar to the Hexaleaf design:
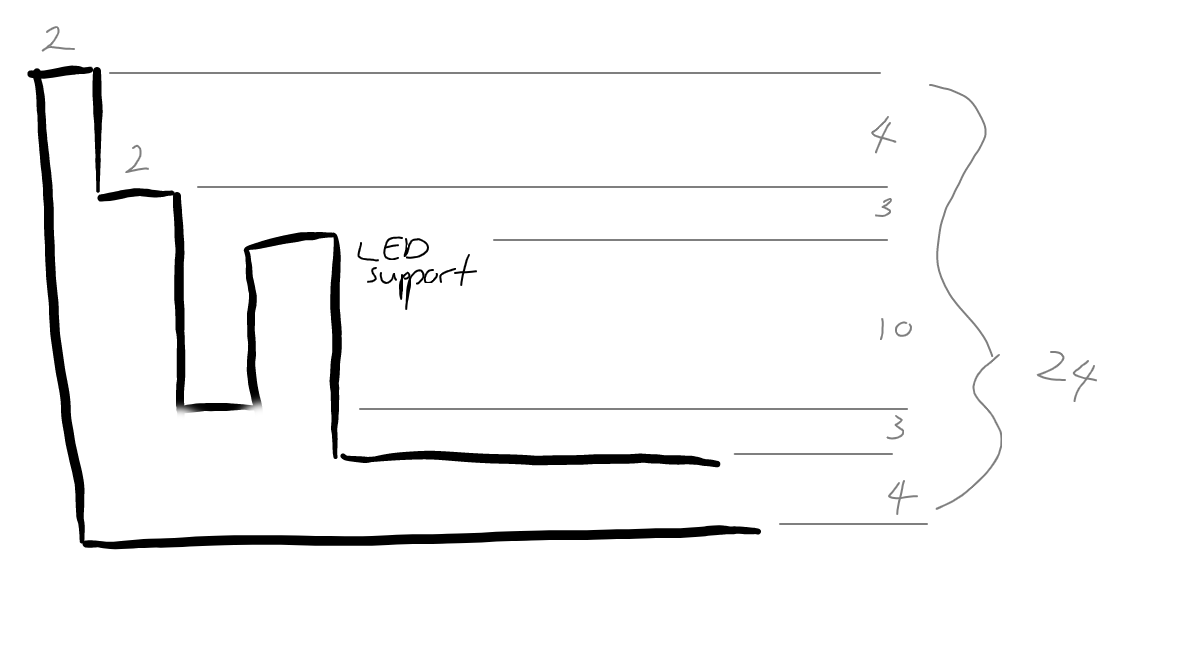
Cross-section where there is an LED strip support:
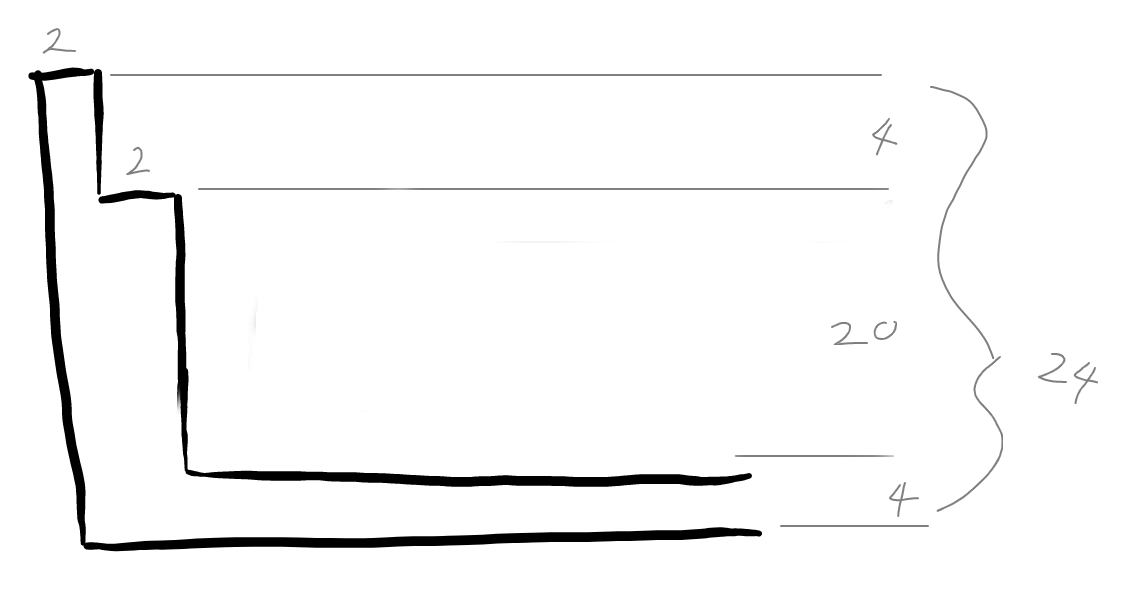
Cross-section where there is no LED strip support:
Tomorrow I will need to try and get this modelled in Tinkercad.