It took me a long time to get something I was happy with:
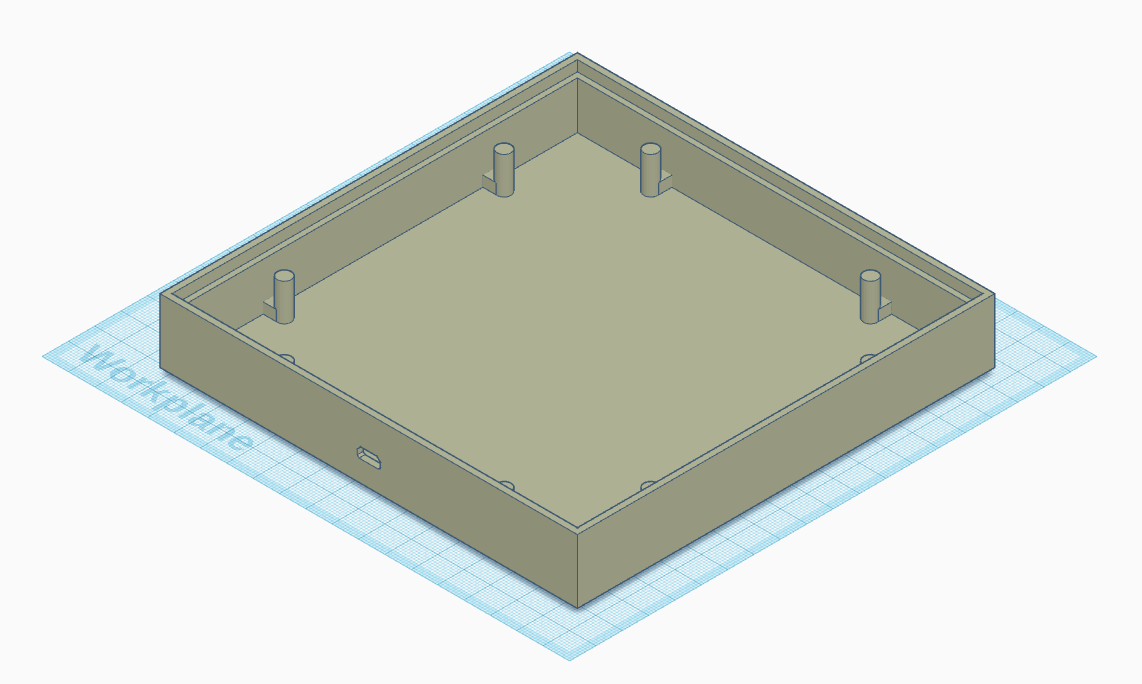
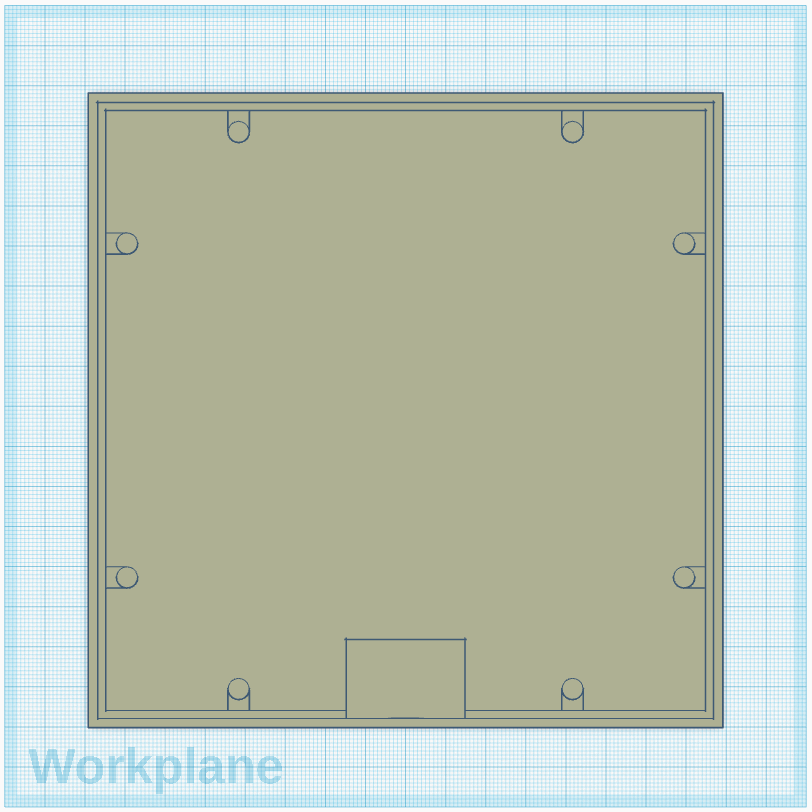
I imported the STL of the cover to make sure everything fits. It would be a disaster to print the enclosure, only to discover my measurements were wrong.
I decided to keep the case for the Pico separate from the enclosure so that it can be swapped out for the ESP32 development board which is currently on its way from China. The reason I want to use the ESP32 is so that the LED strip can be controlled with WLED. WLED offers the following advantages:
- Over 100 special effects
- Mobile app for remote control
- Alexa voice control (including dimming and color)
- Nightlight function (gradually dims down)
Unfortunately, I cannot do this with the non-wireless Pico I have so he will have to make do with my pre-programmed lighting animations for now 😂.
The plan is to use a couple 3M Velcro strips to hold the Pico (and later ESP32) board in place. It should be strong enough to allow plugging the power cable in from the outside without it moving around.
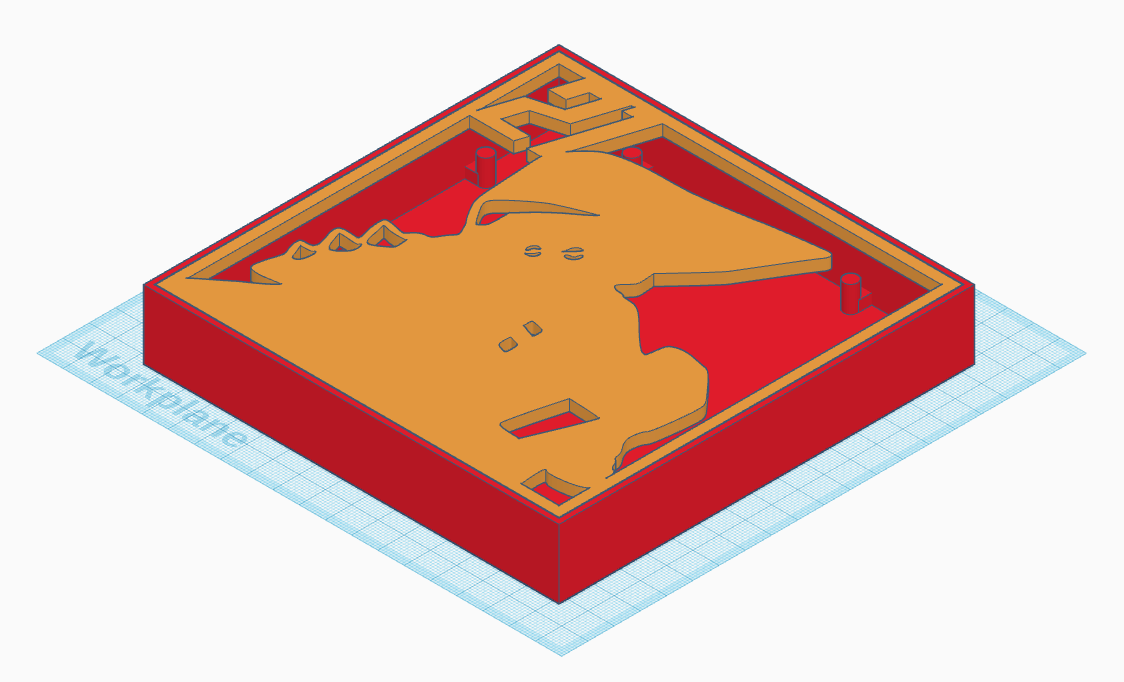
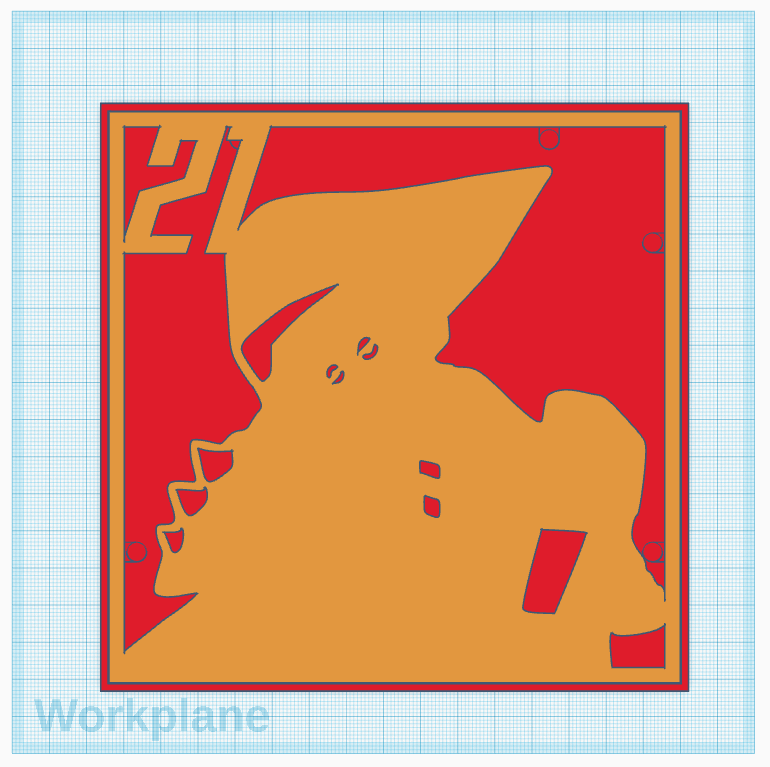
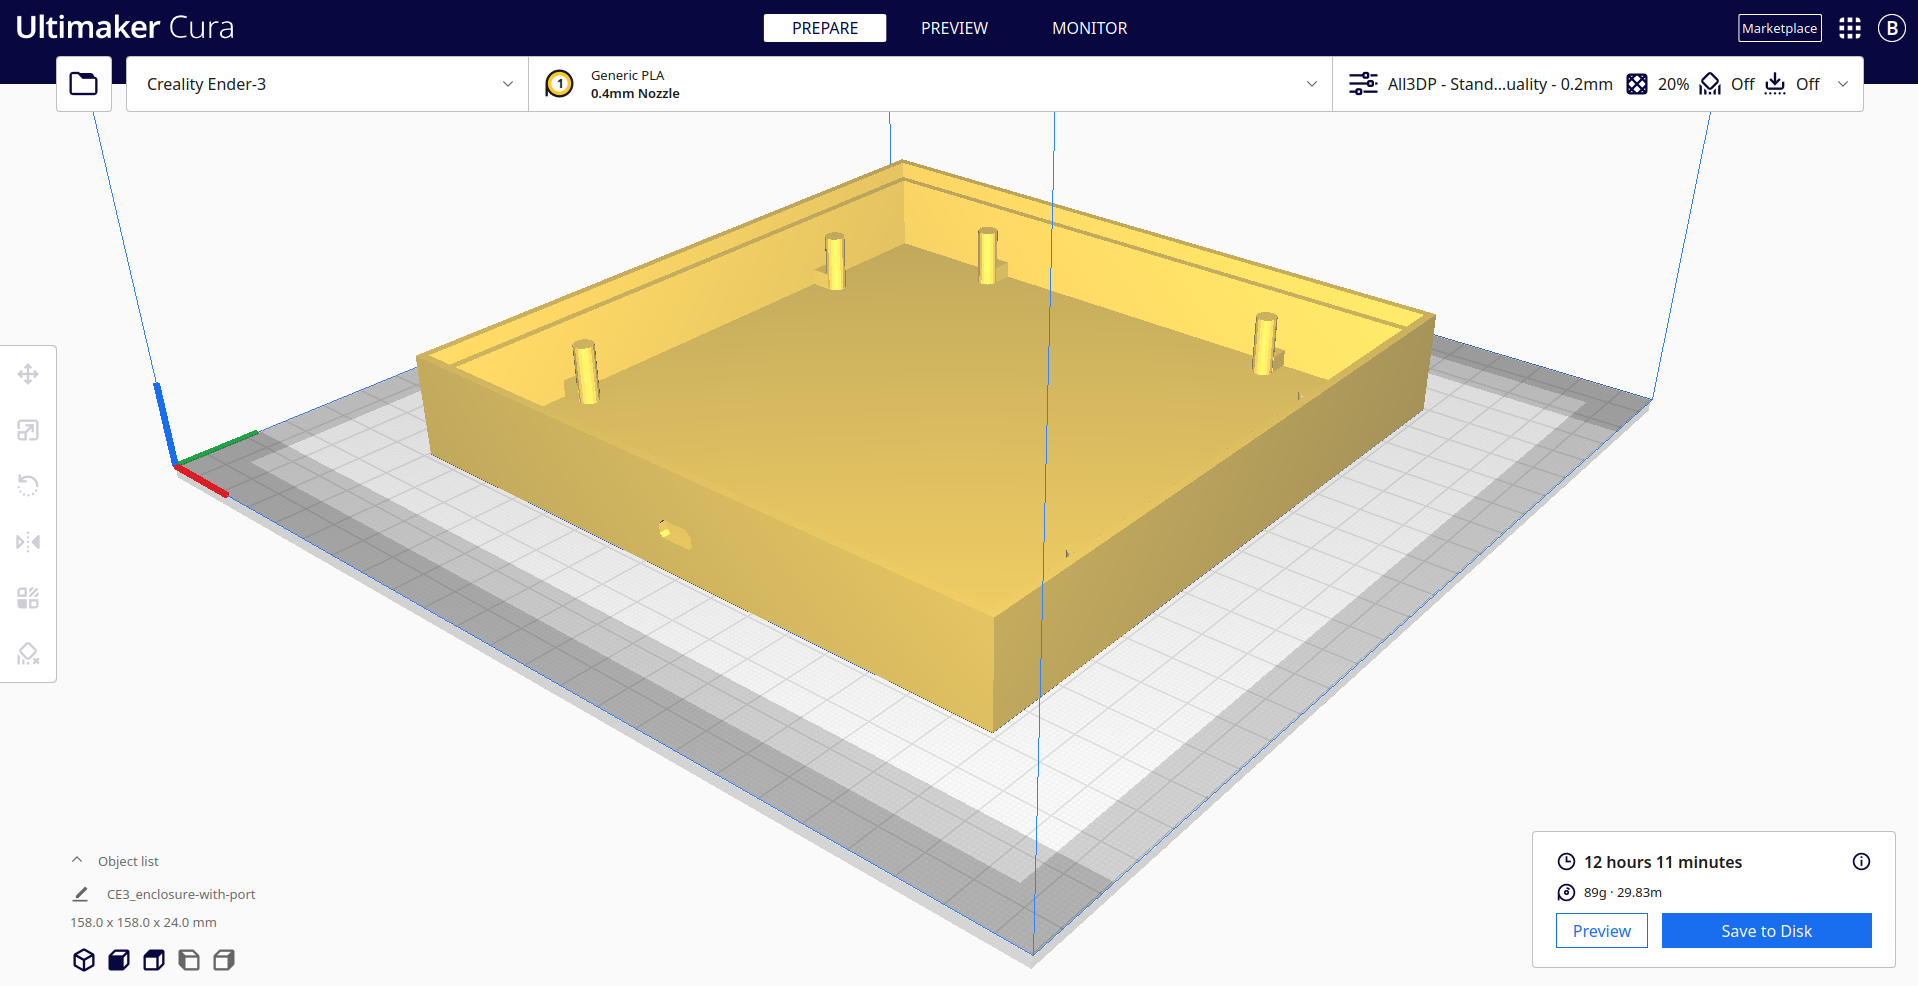
I did a quick slice of the STL file to get an idea of the print time. More than 17 hours… oh my. I referred back to the Hexaleaf Thingiverse page and saw the author printed at a layer height of 0.2 mm. I did the cover at 0.12 mm and was very happy with the quality. However, re-slicing in Cura with a layer height of 0.2 mm means a print time of just over 12 hours. This seems more reasonable so is what I have decided to go with:
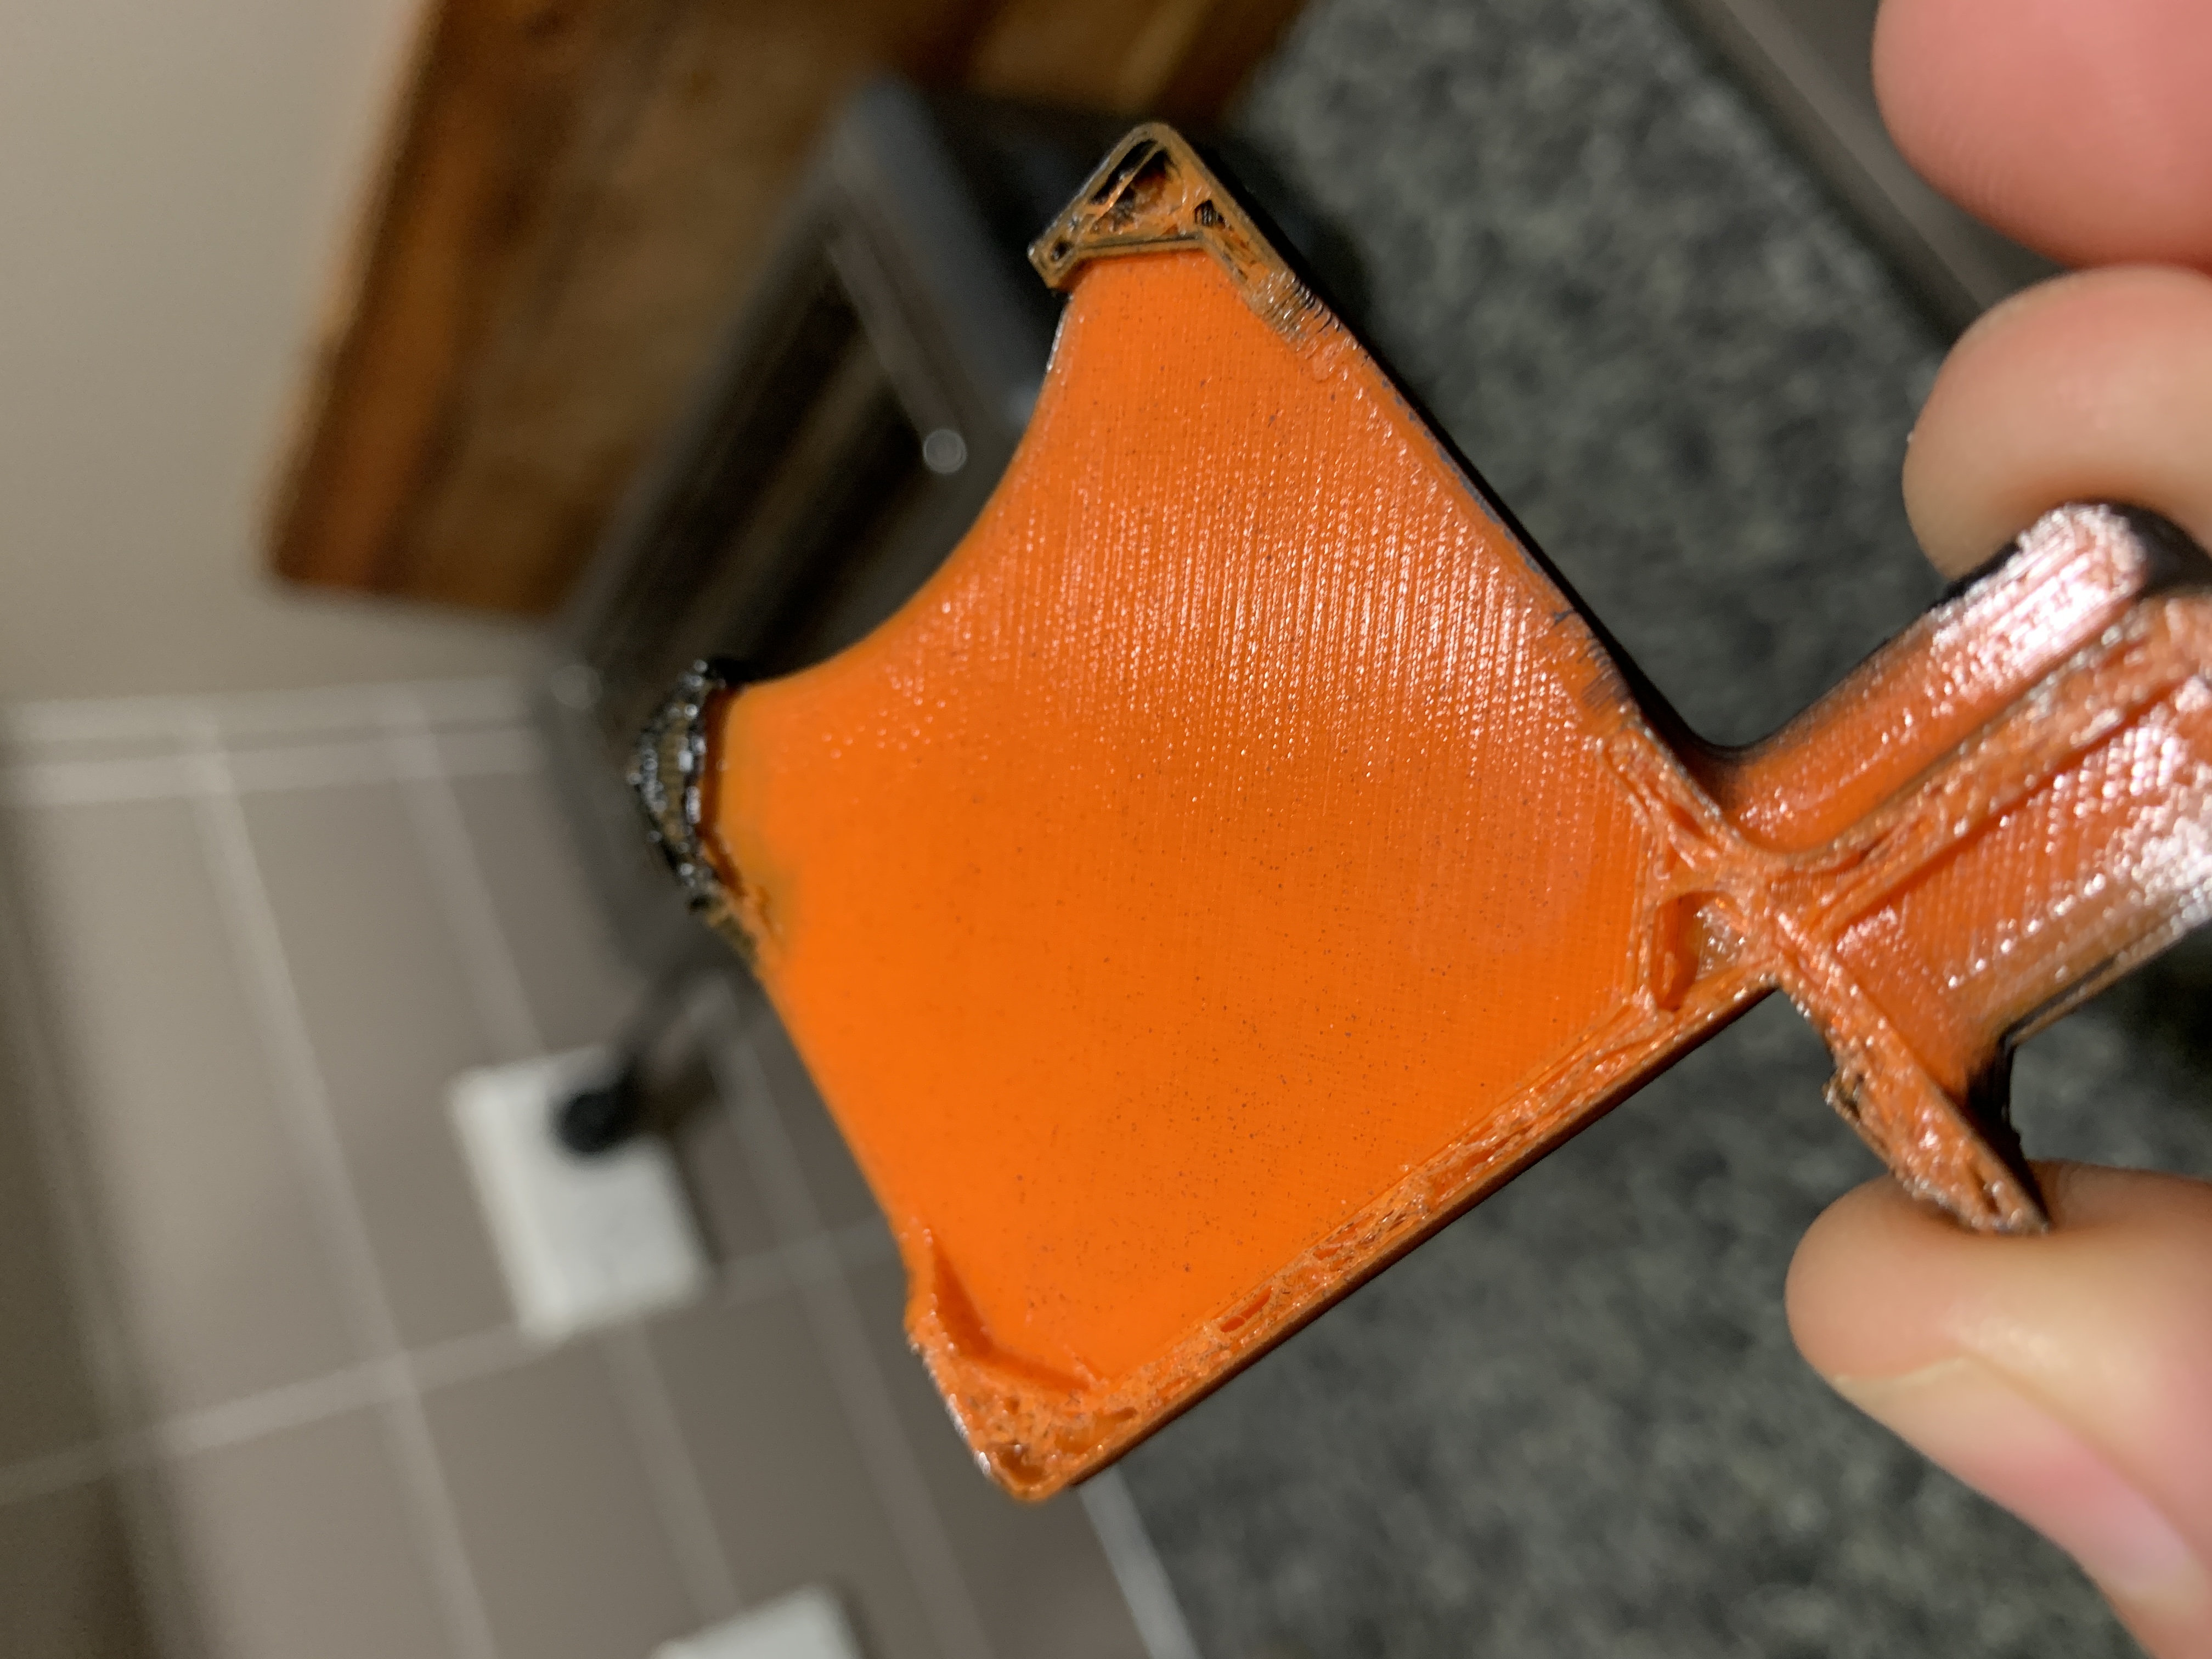
Spray Paint Test
I grabbed a piece of orange scrap from one of my previous failed prints. I used orange because I figure if black spray paint can hide orange, it can certainly hide grey. I hung the piece up outside, gave the can a good shake and tried to do nice even strokes with the spray until I had completely covered the face. I left it to dry for around an hour before taking it inside to look at the results. I am blown away with the difference! Not just the colour but the finish to the surface as well.
There was nothing wrong per se with the finish before but you could clearly see the print lines:
Compared to the sprayed black side, the surface is clearly smoother and has a nice matte finish:
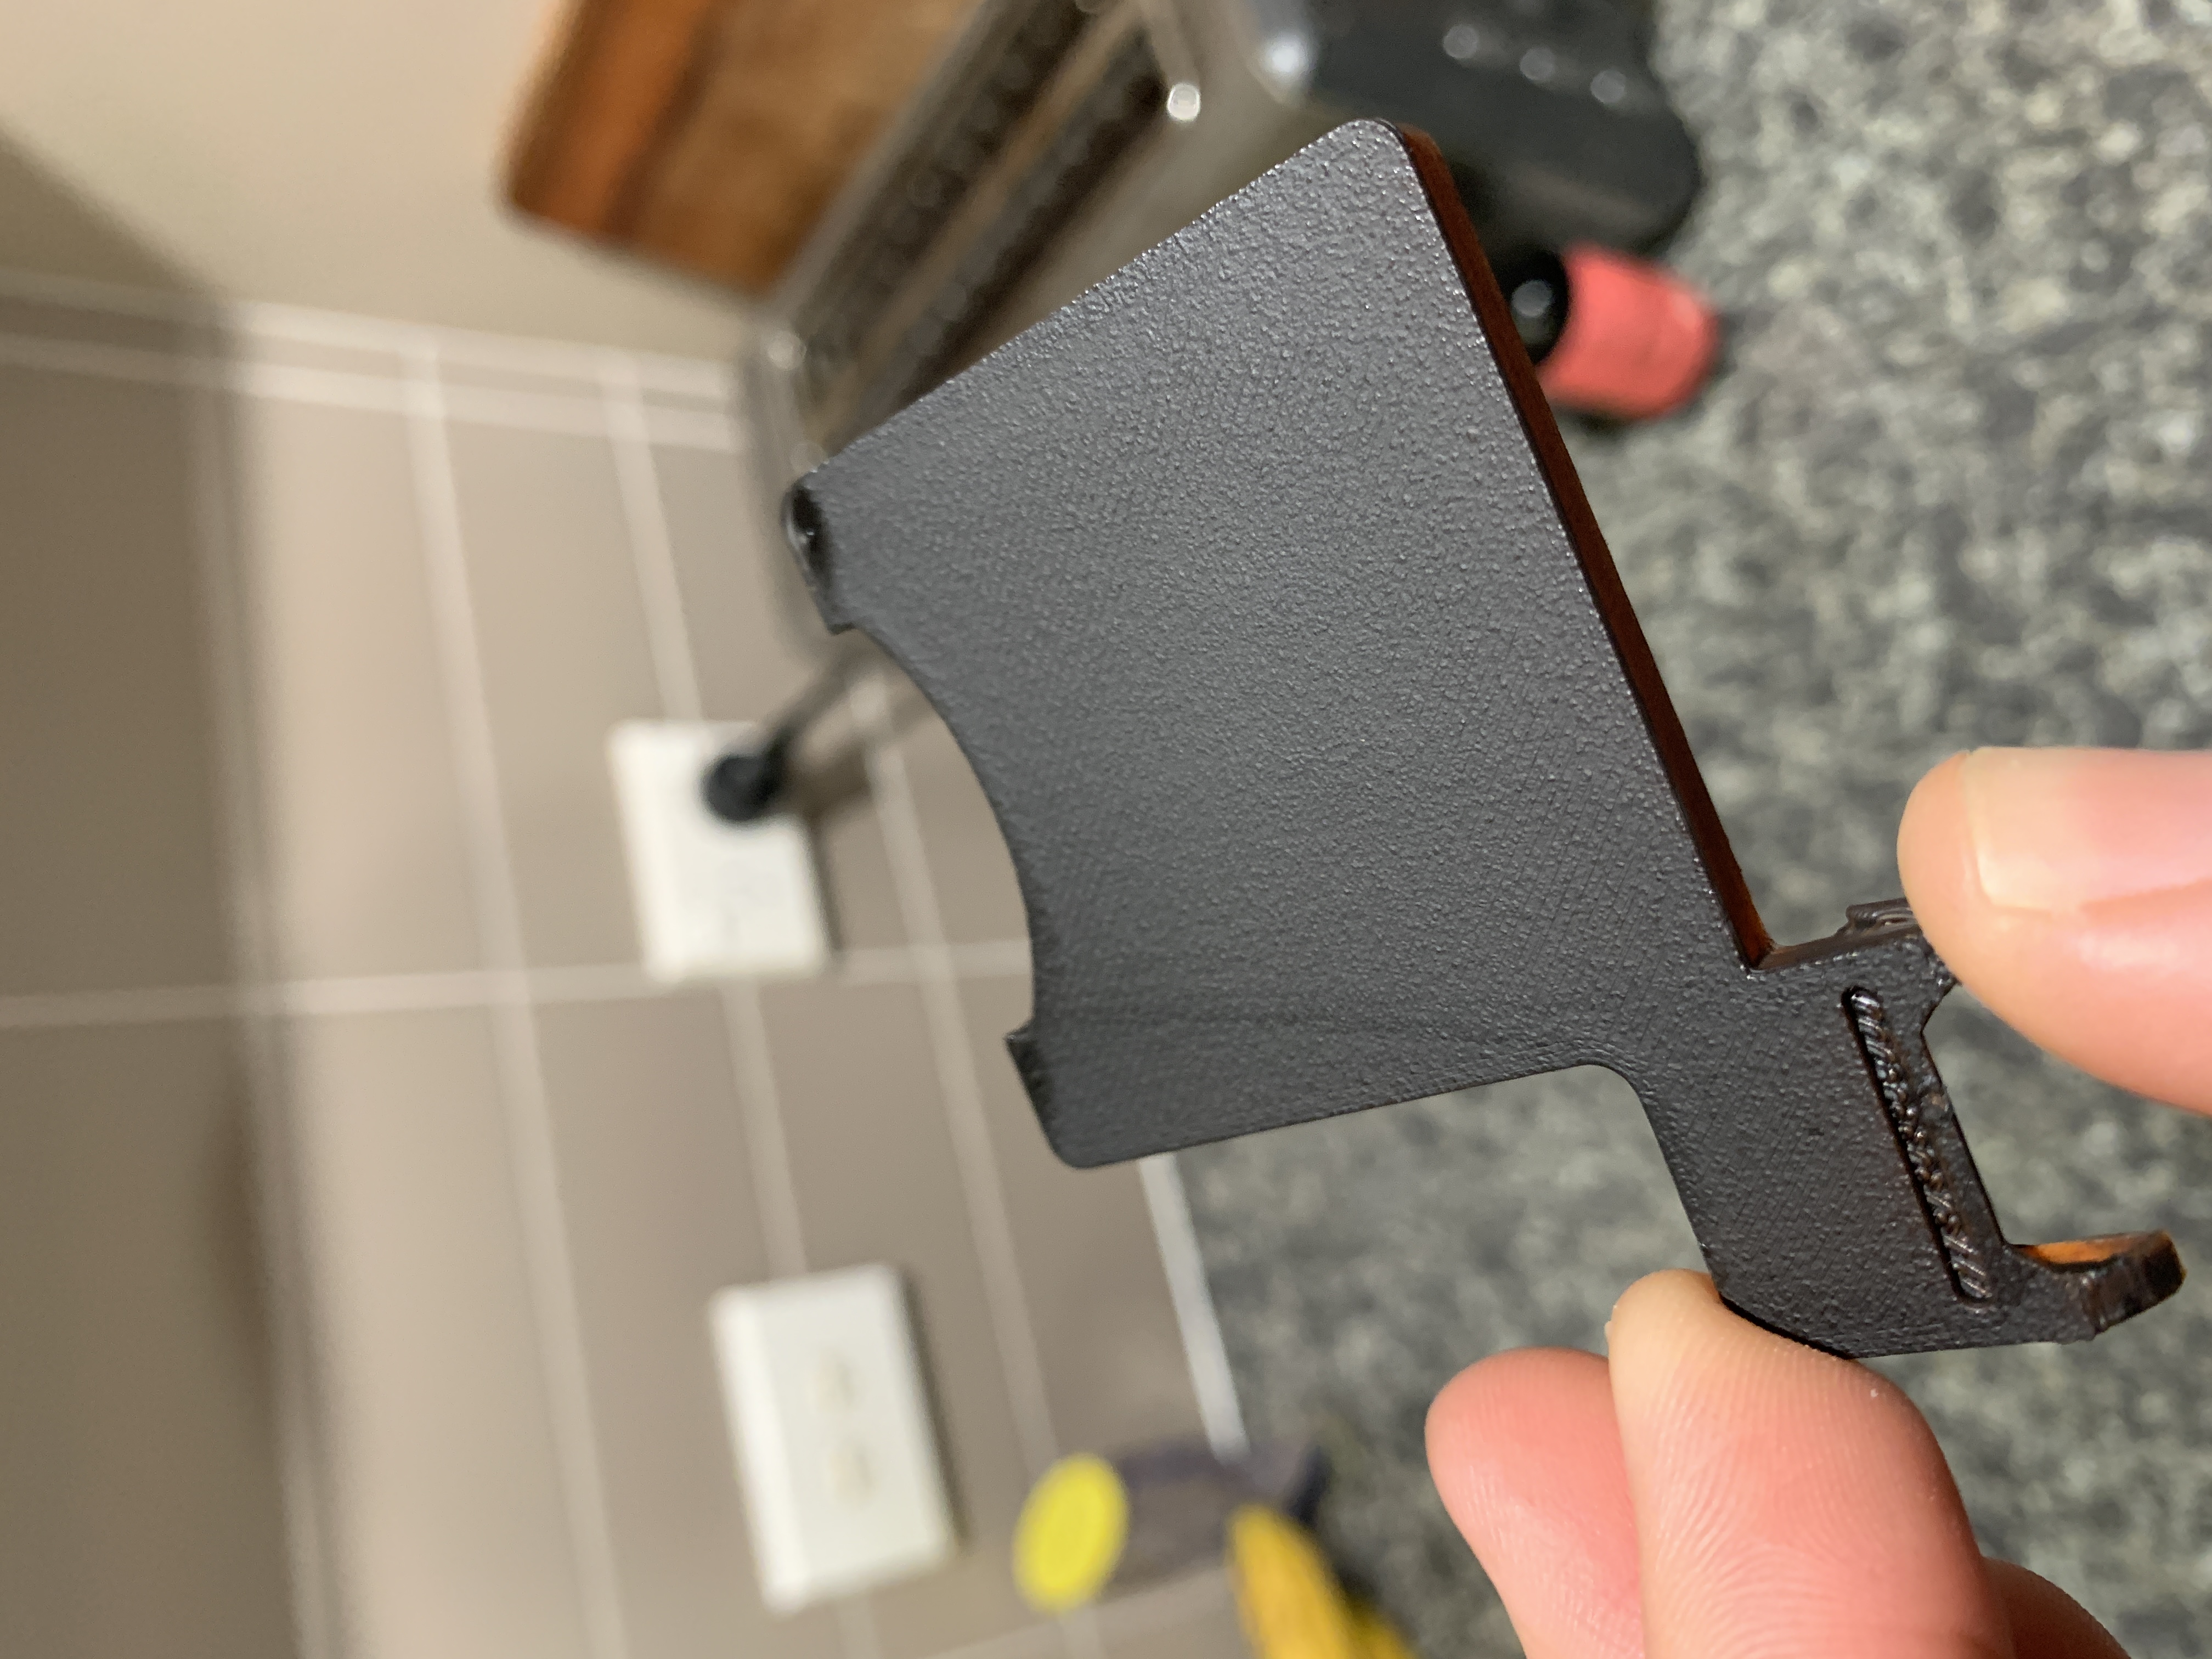
I feel more confident taking the spray can to the cover now as long as I use the same technique as the test piece.
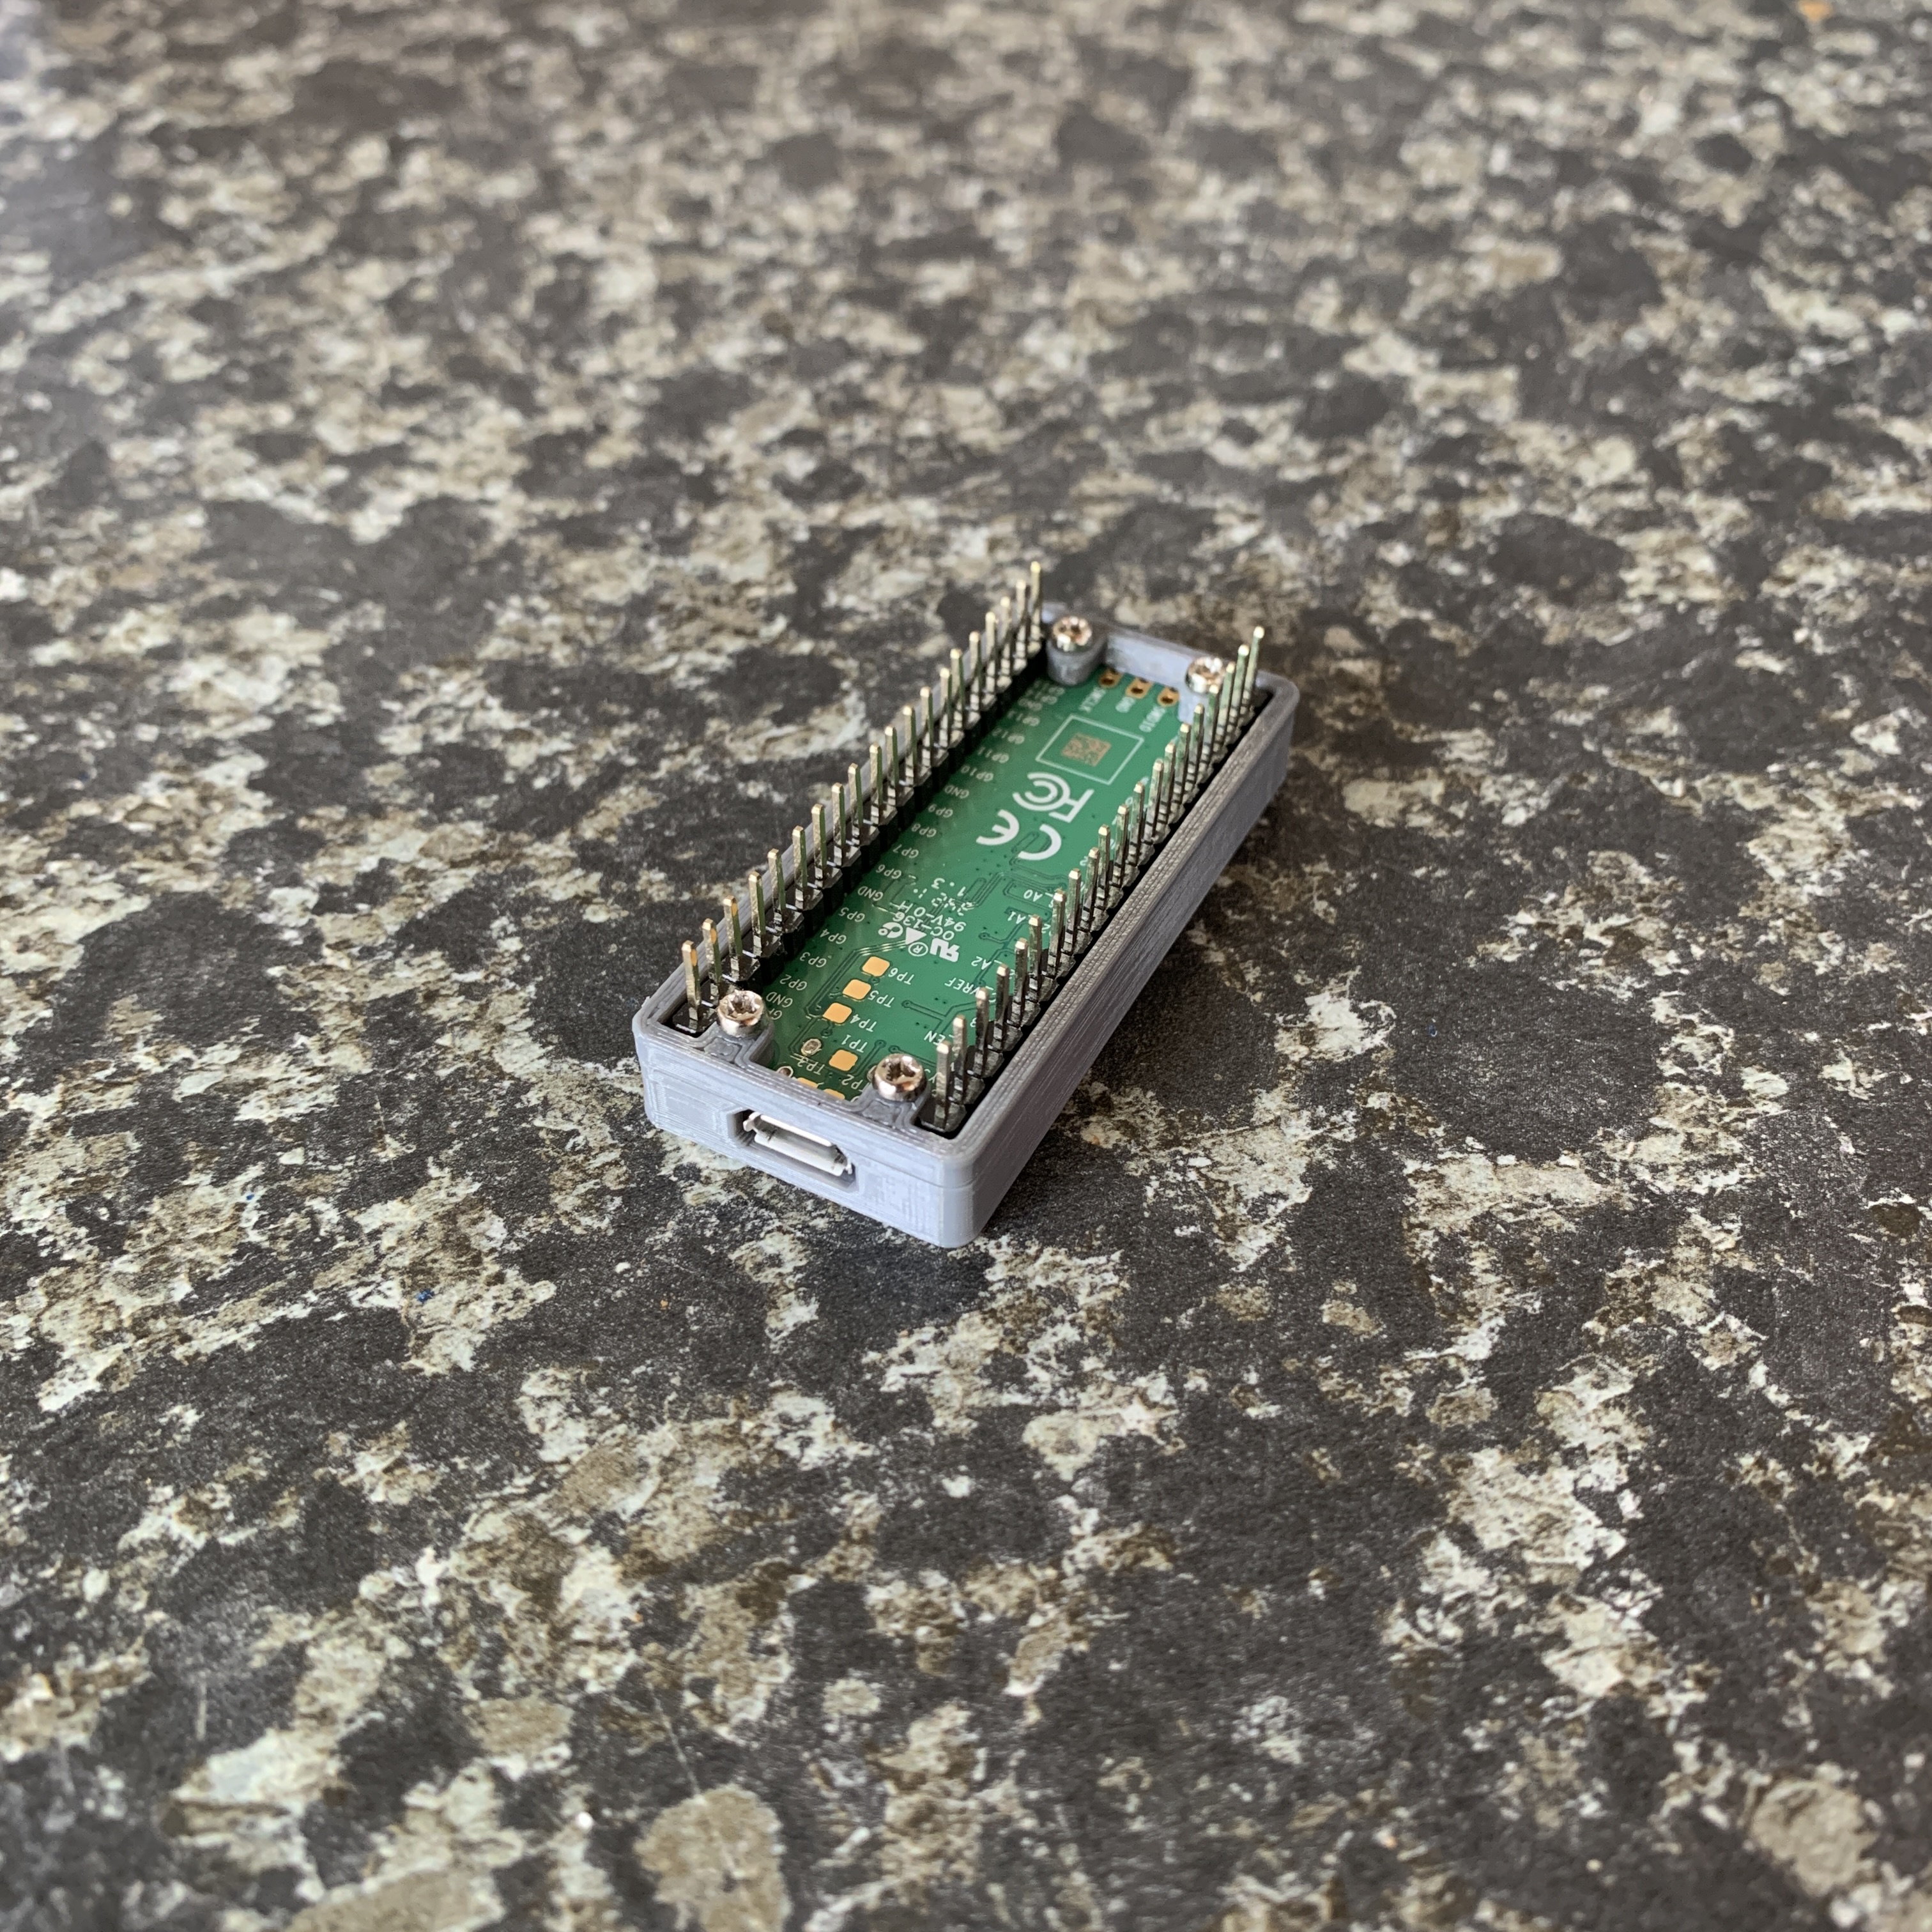
Raspberry Pi Pico Case
I printed the case for the Raspberry Pi Pico that will sit inside the enclosure. I am happy with the result and glad to see the M2 8 mm screws I have work 😅. It is the first time I have really relied on the accuracy of my printer. If the screw holes were not printed at the correct size, the screws would not have worked.
Tomorrow I will be printing the enclosure…