I have been both looking forward to and dreading this day for a long time. I bought the Creality Ender 3 3D printer about 6 months ago but have still not built it. Life got busy and I was convinced something would go wrong, so I lost the motivation I had before to buy and build my own printer.
But… I cannot give my brother a 3D printed lightbox without having a functioning 3D printer 😅.
So here it goes…
I open the box the printer comes in to see what I am dealing with. First glance makes me feel like this won’t be so bad:
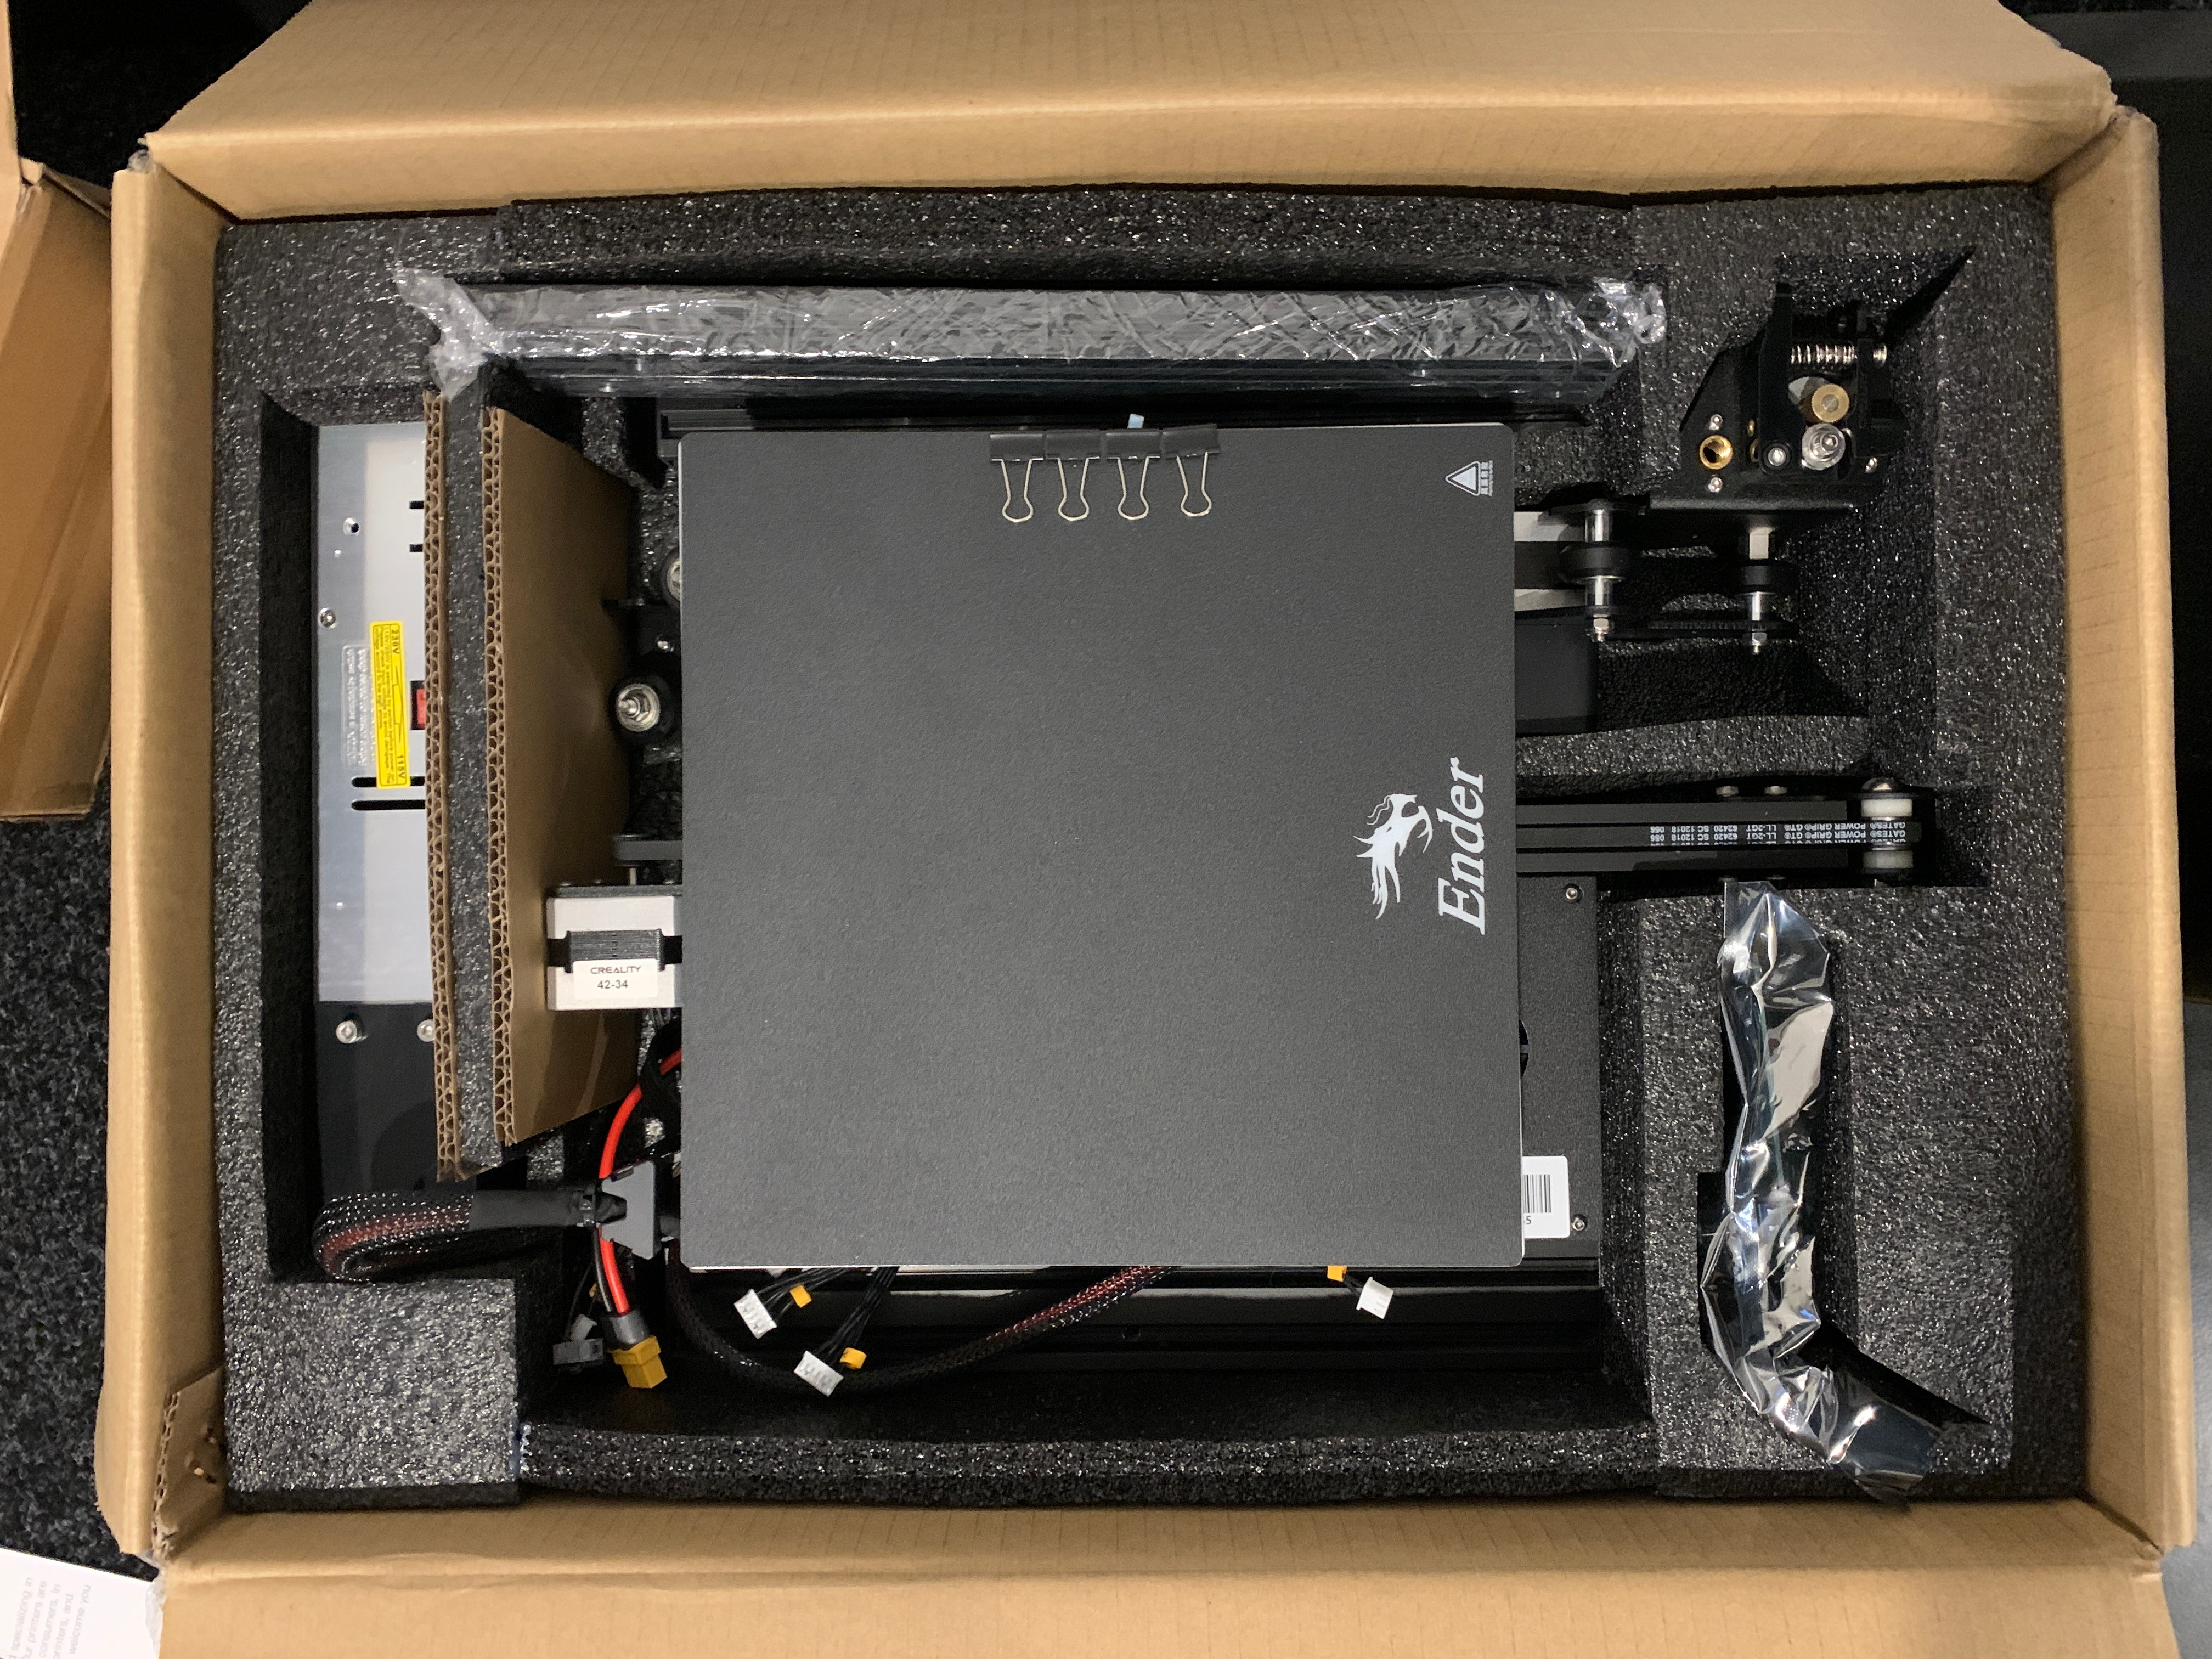
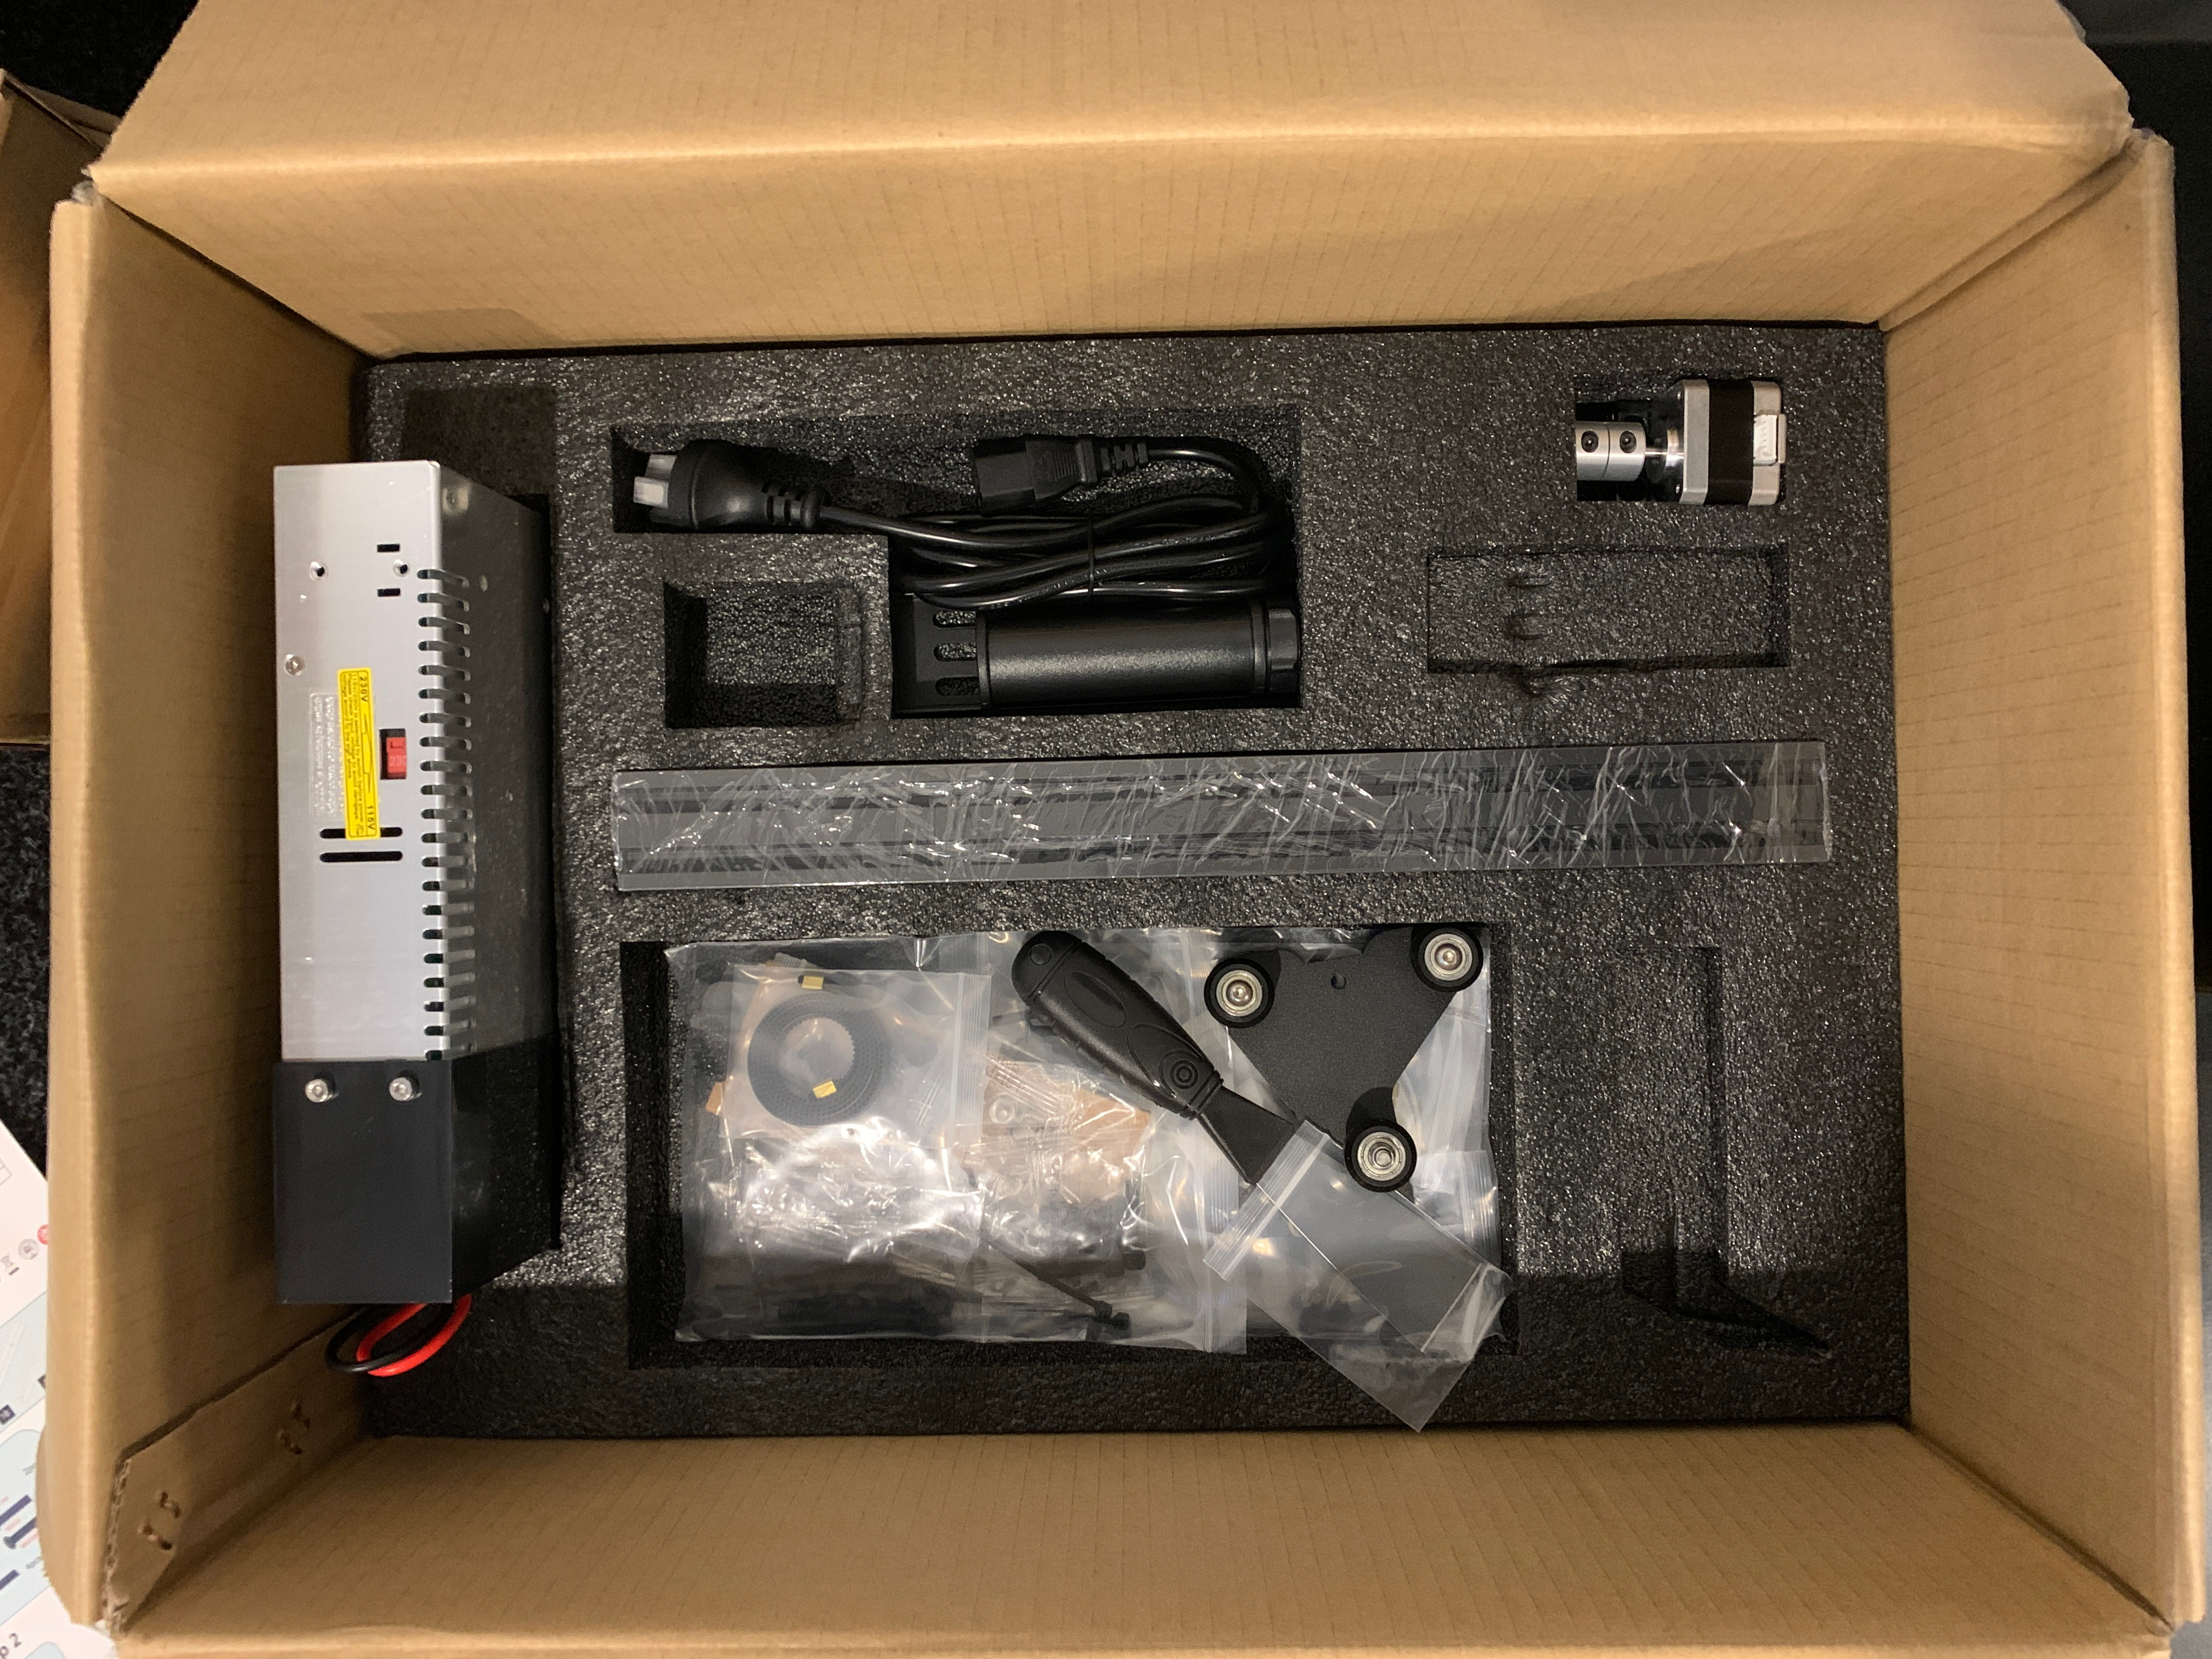
I started unpacking and surprise! There is another layer:
…

I unpacked everything and laied it on the ground to get a better idea of what I was dealing with:
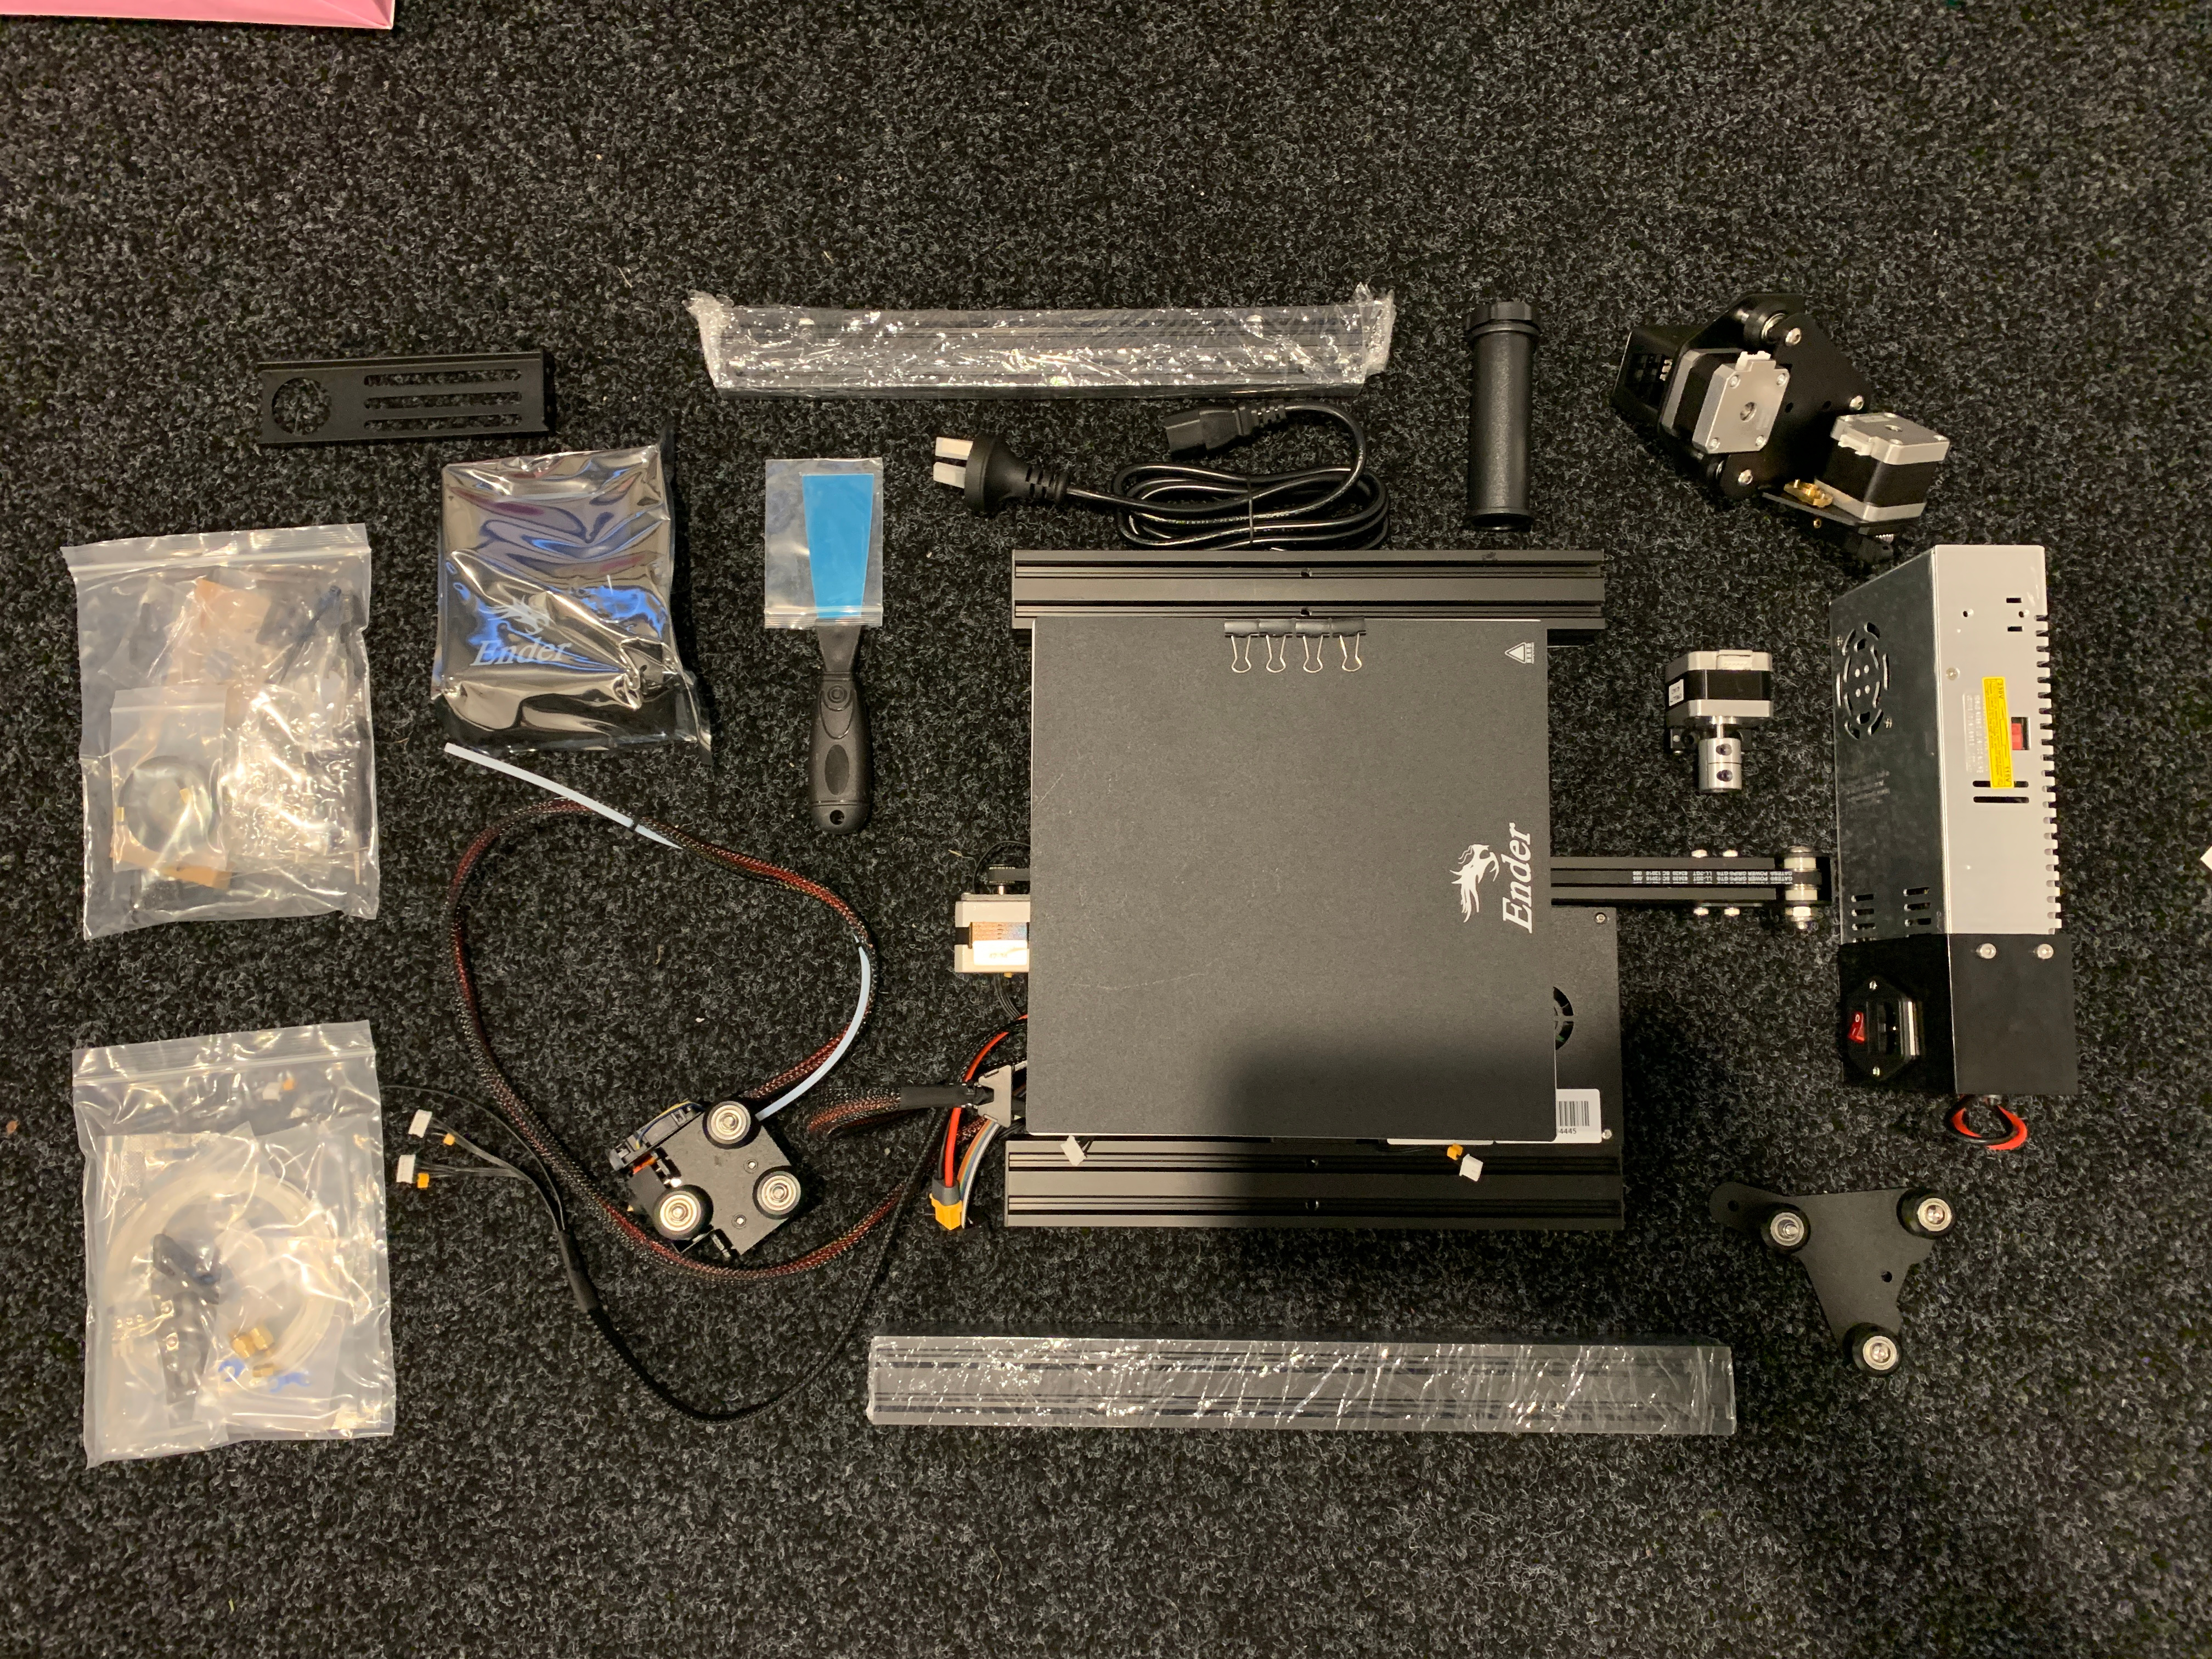
I should have really unpacked those bags on the left because there were many, many parts in there. Following the single-page instruction manual was not too difficult and I supplemented that with a YouTube video. After about an hour, I ended up here:
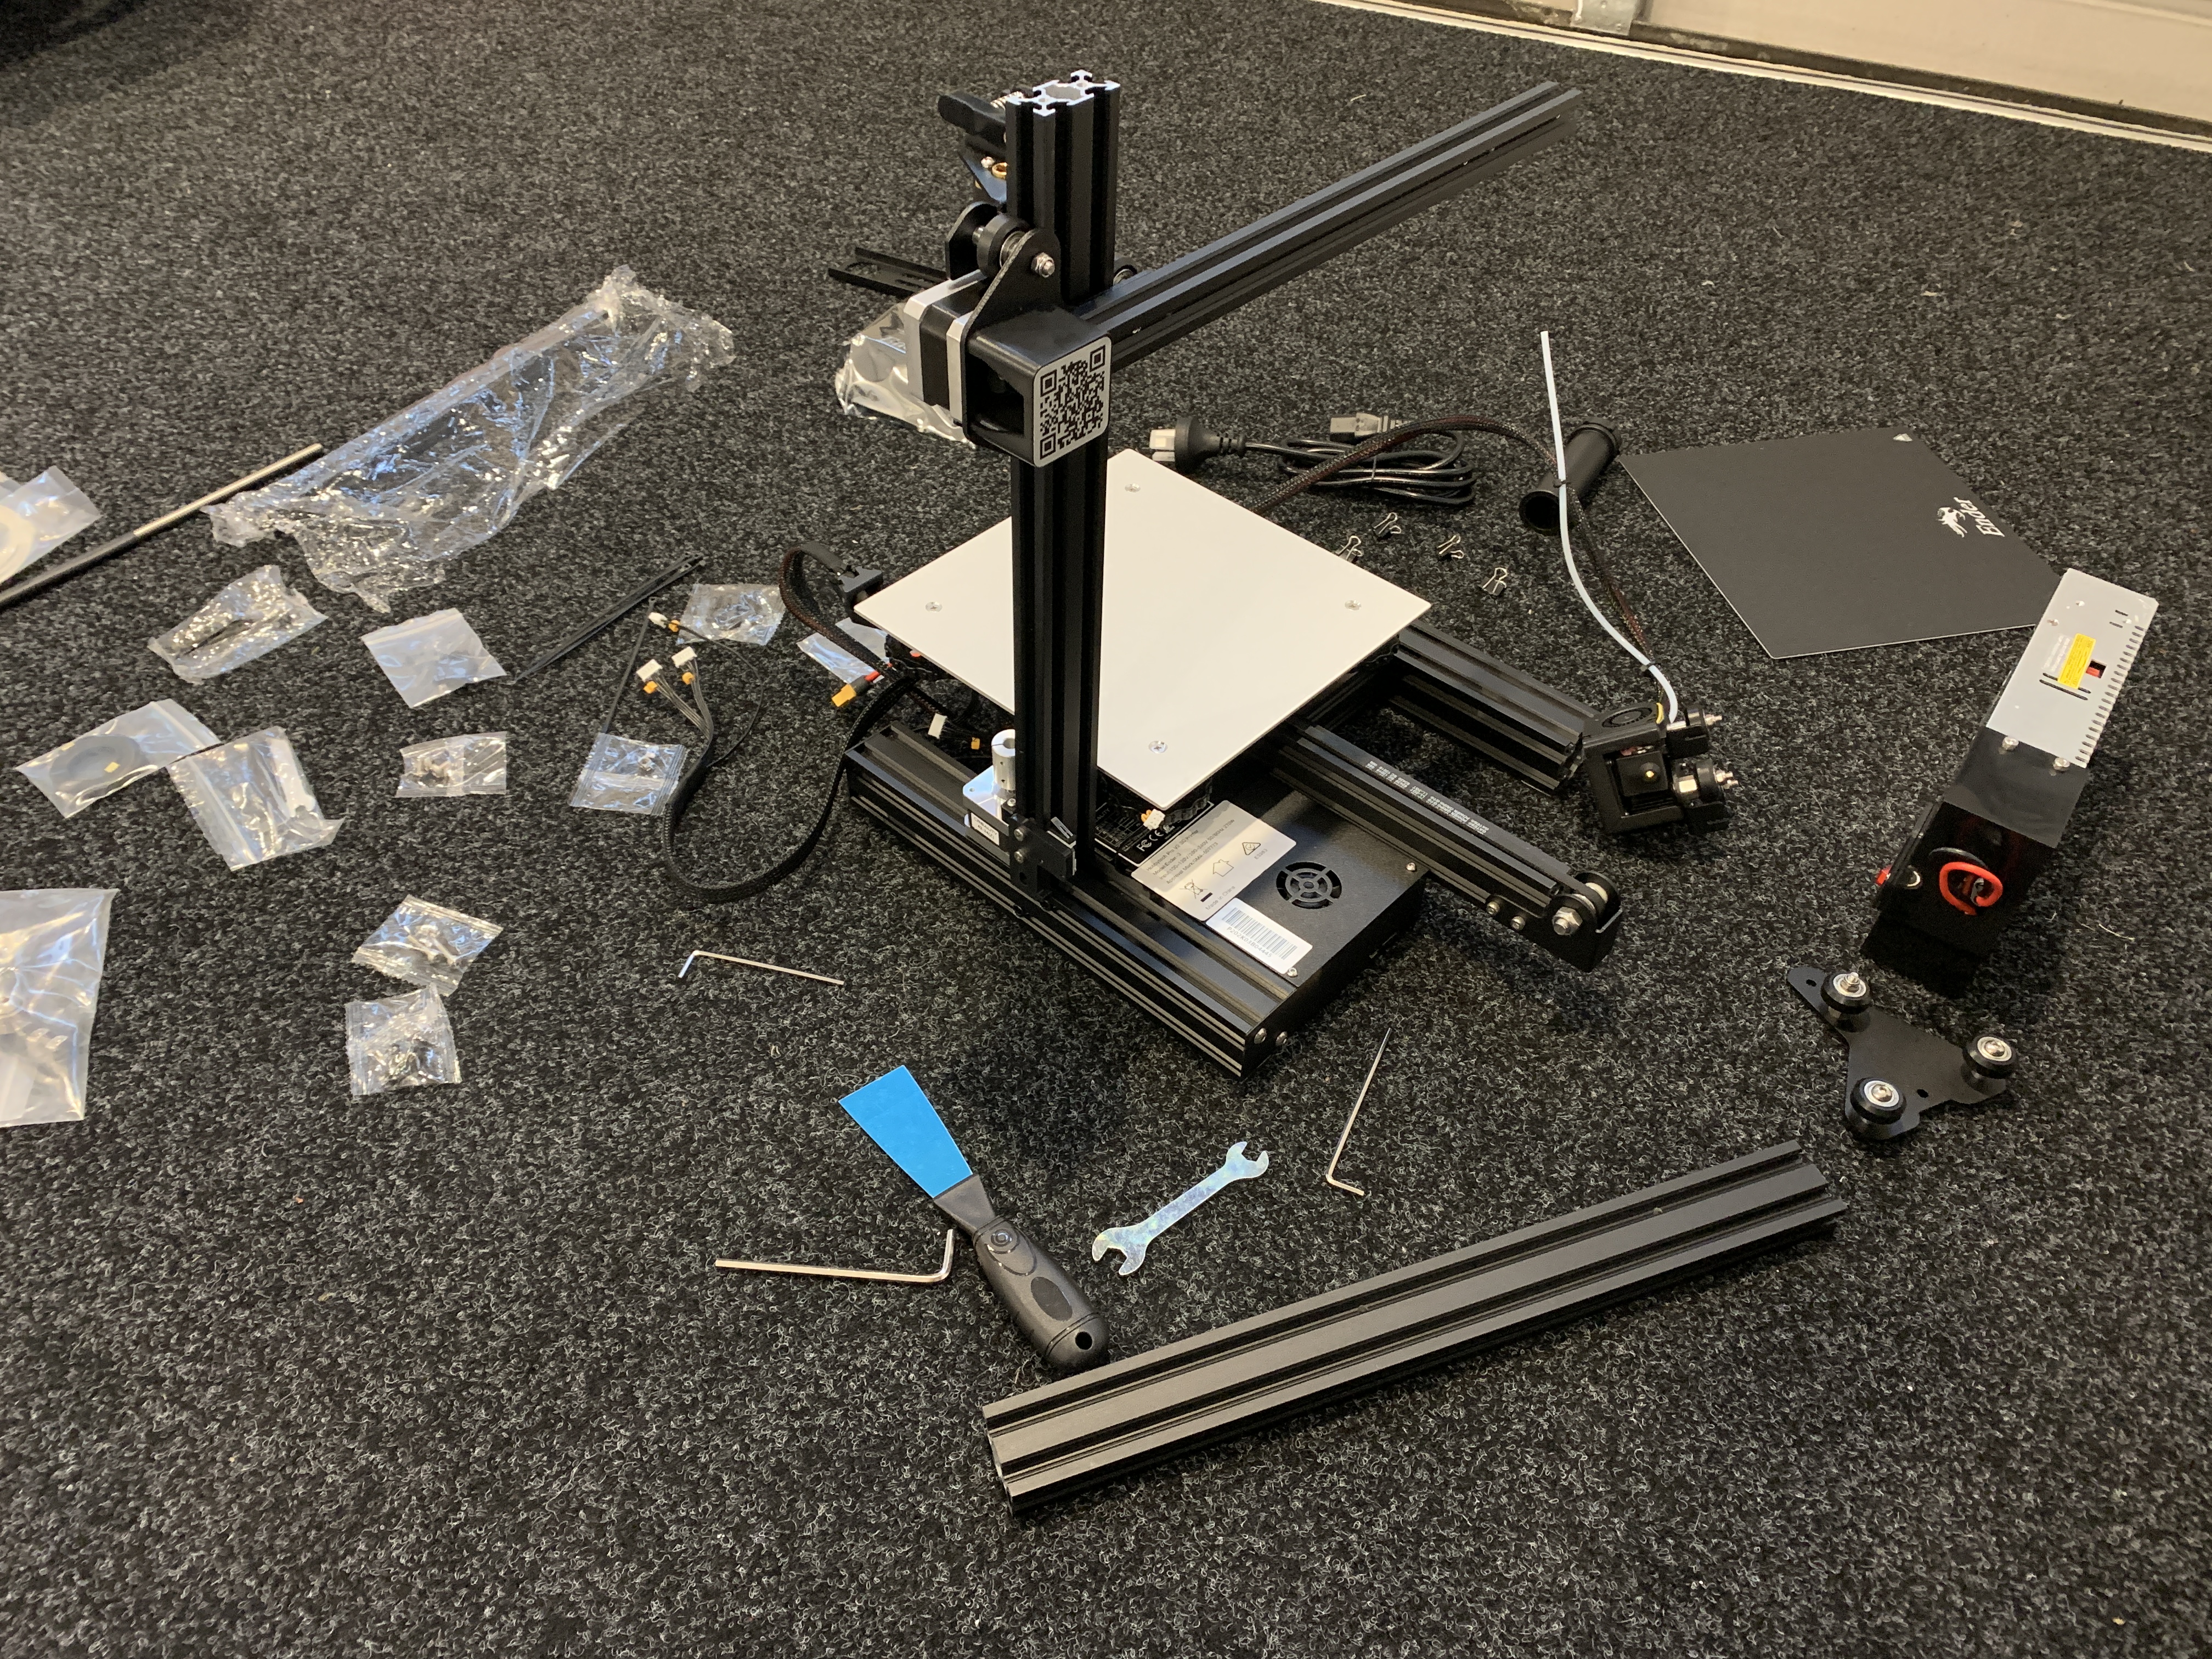
This is apparently the most important part to get right and makes up the core of the printer. If the vertical and horizontal members are all square and secure, the printer should print with decent results.
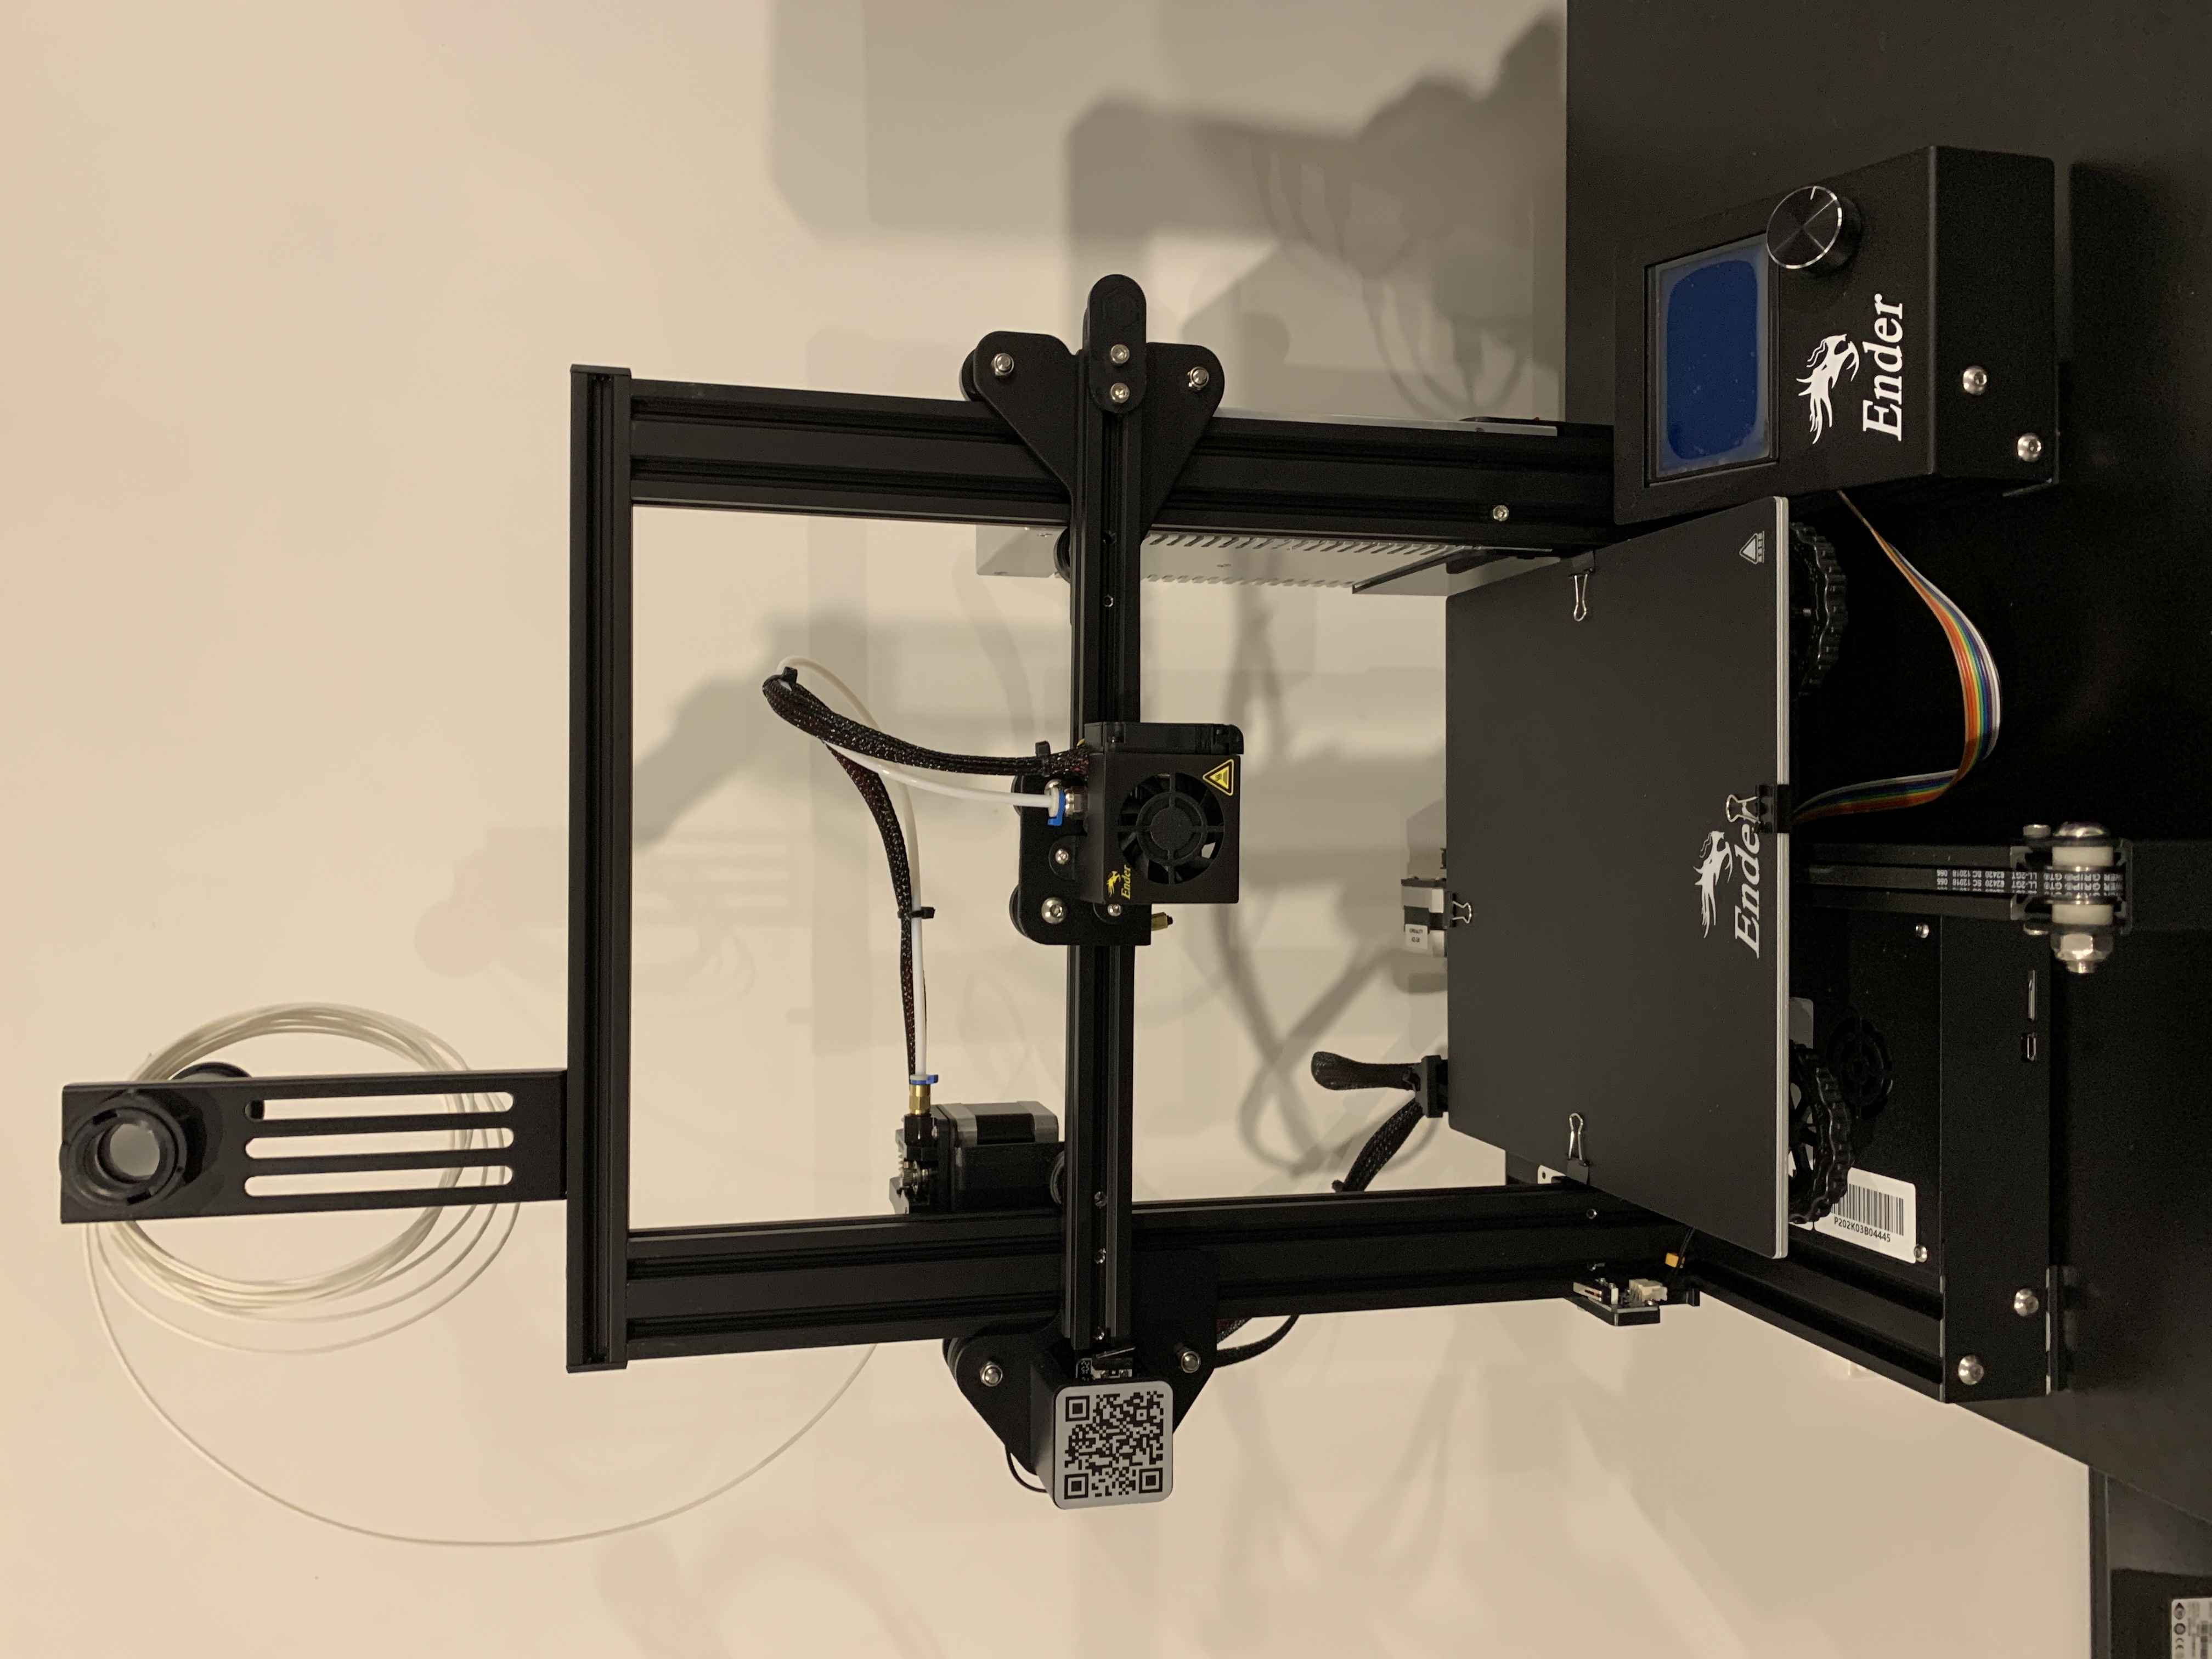
After a couple more hours, and a long break in the middle (who has spare time with young kids running around? 😂), it was done:
I really wanted to include a video here but I will have to figure out how to do that later. Here is my first print!

This was a simple bed level test, to make sure I had the print bed nice and level relative to the nozzle.